

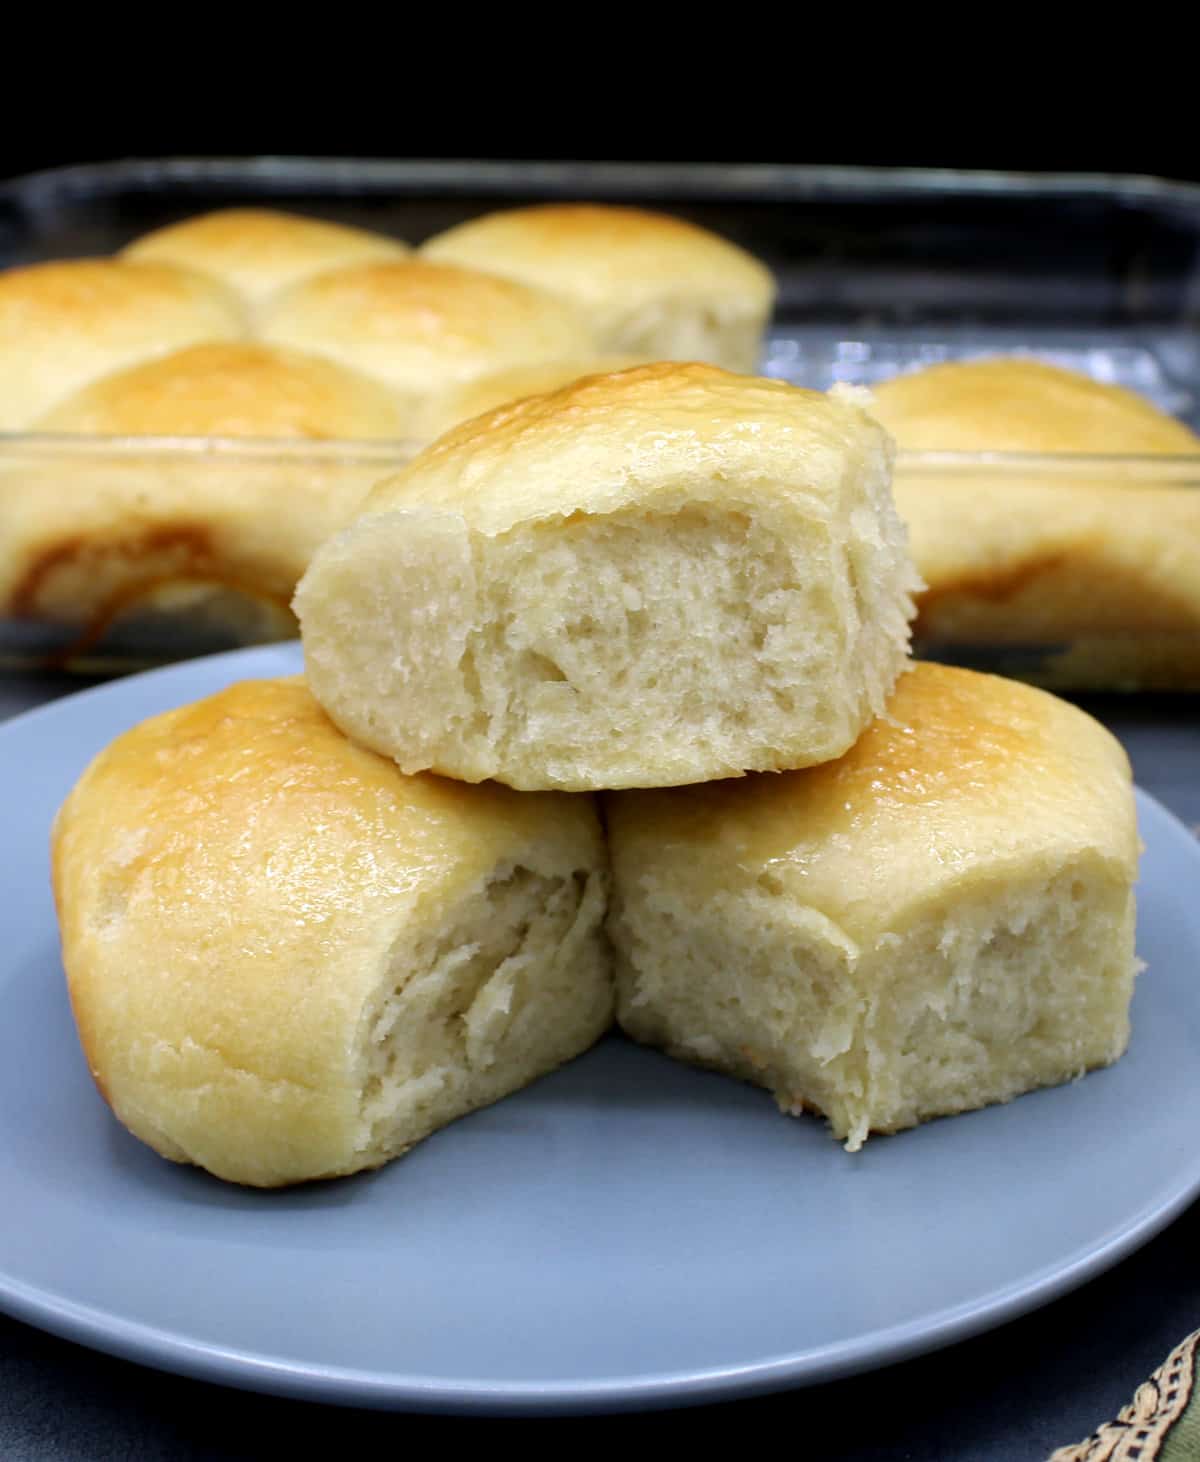
These buttery vegan Brioche Buns are whisper-soft and flaky, exactly as a French brioche is meant to be, with a hint of sweetness. They are also eggless and made with dairy-free butter, of course, but no one would know unless you told them!
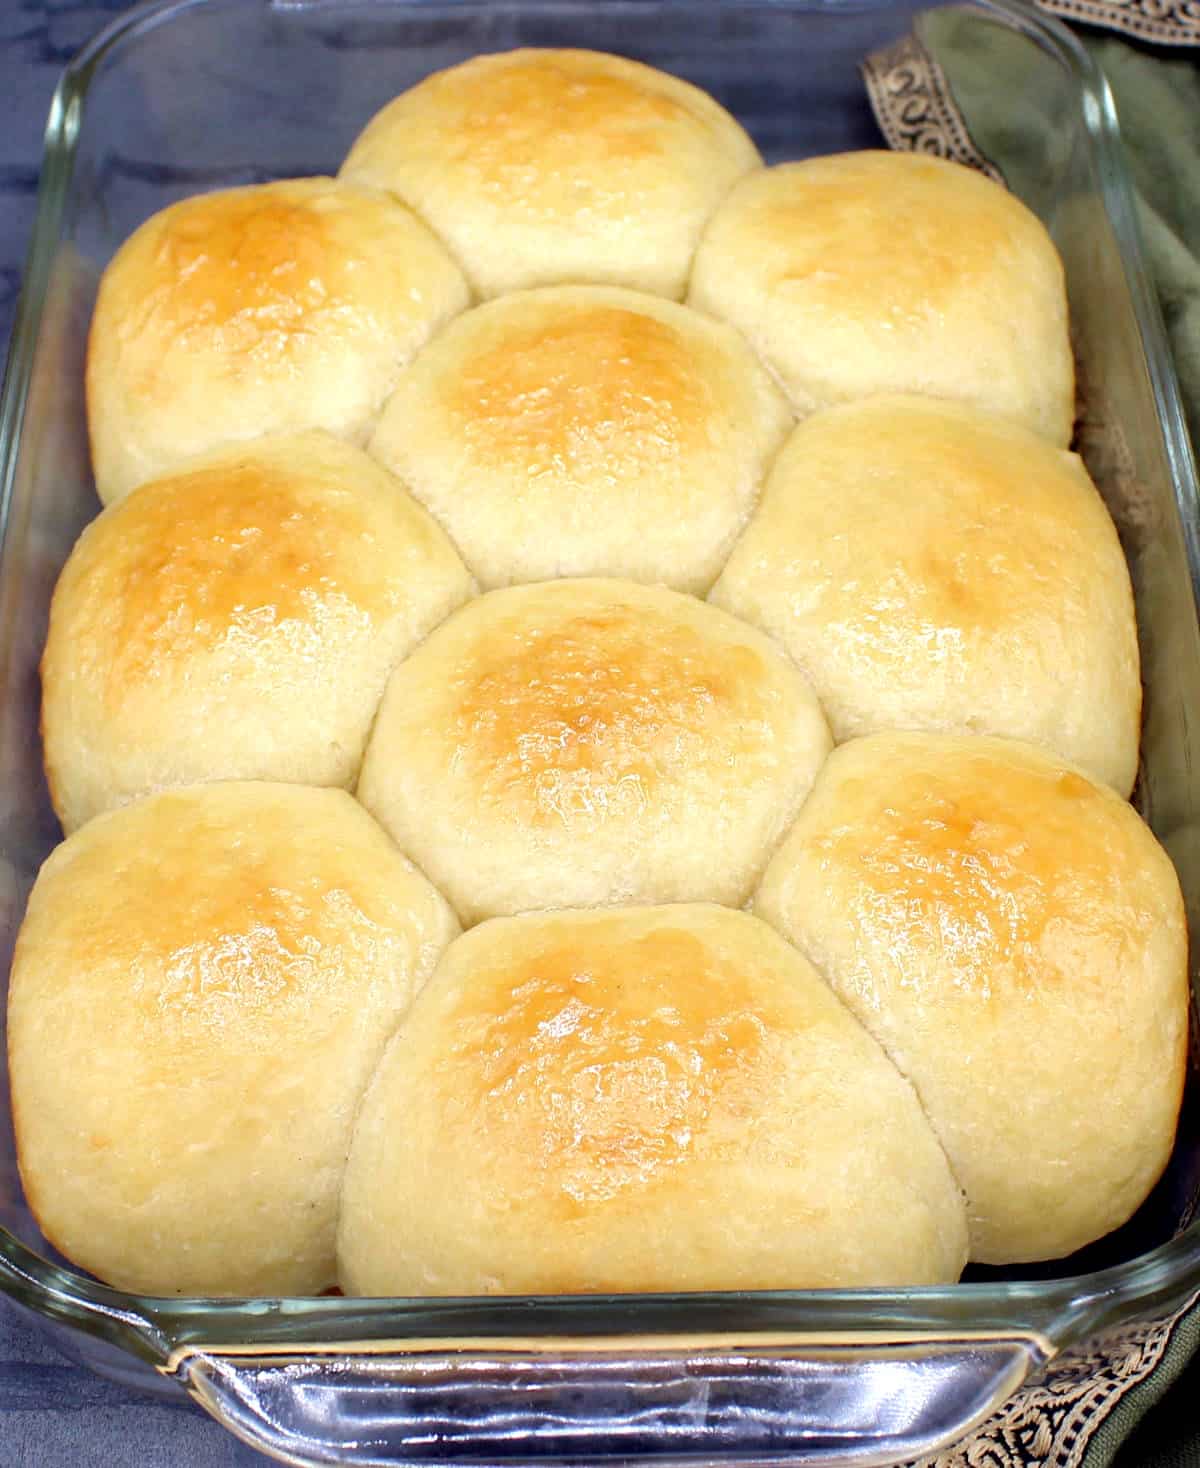
If you didn't yet have a favorite vegan roll in mind for the holiday table, say hello to these gorgeous vegan Brioche Rolls. They are soft, buttery, flaky and just about everything you'd expect your favorite brioche buns to be. But they're also eggless and dairy-free.
Making a brioche is a beautiful experience, and a magical one. It's so much fun to watch the dough swallow up what seems like gobs and gobs of butter, becoming a flappy, wet mess. But somehow, as you continue to knead, it transforms into the softest, silkiest, smoothest dough that's almost cathartic to work with.
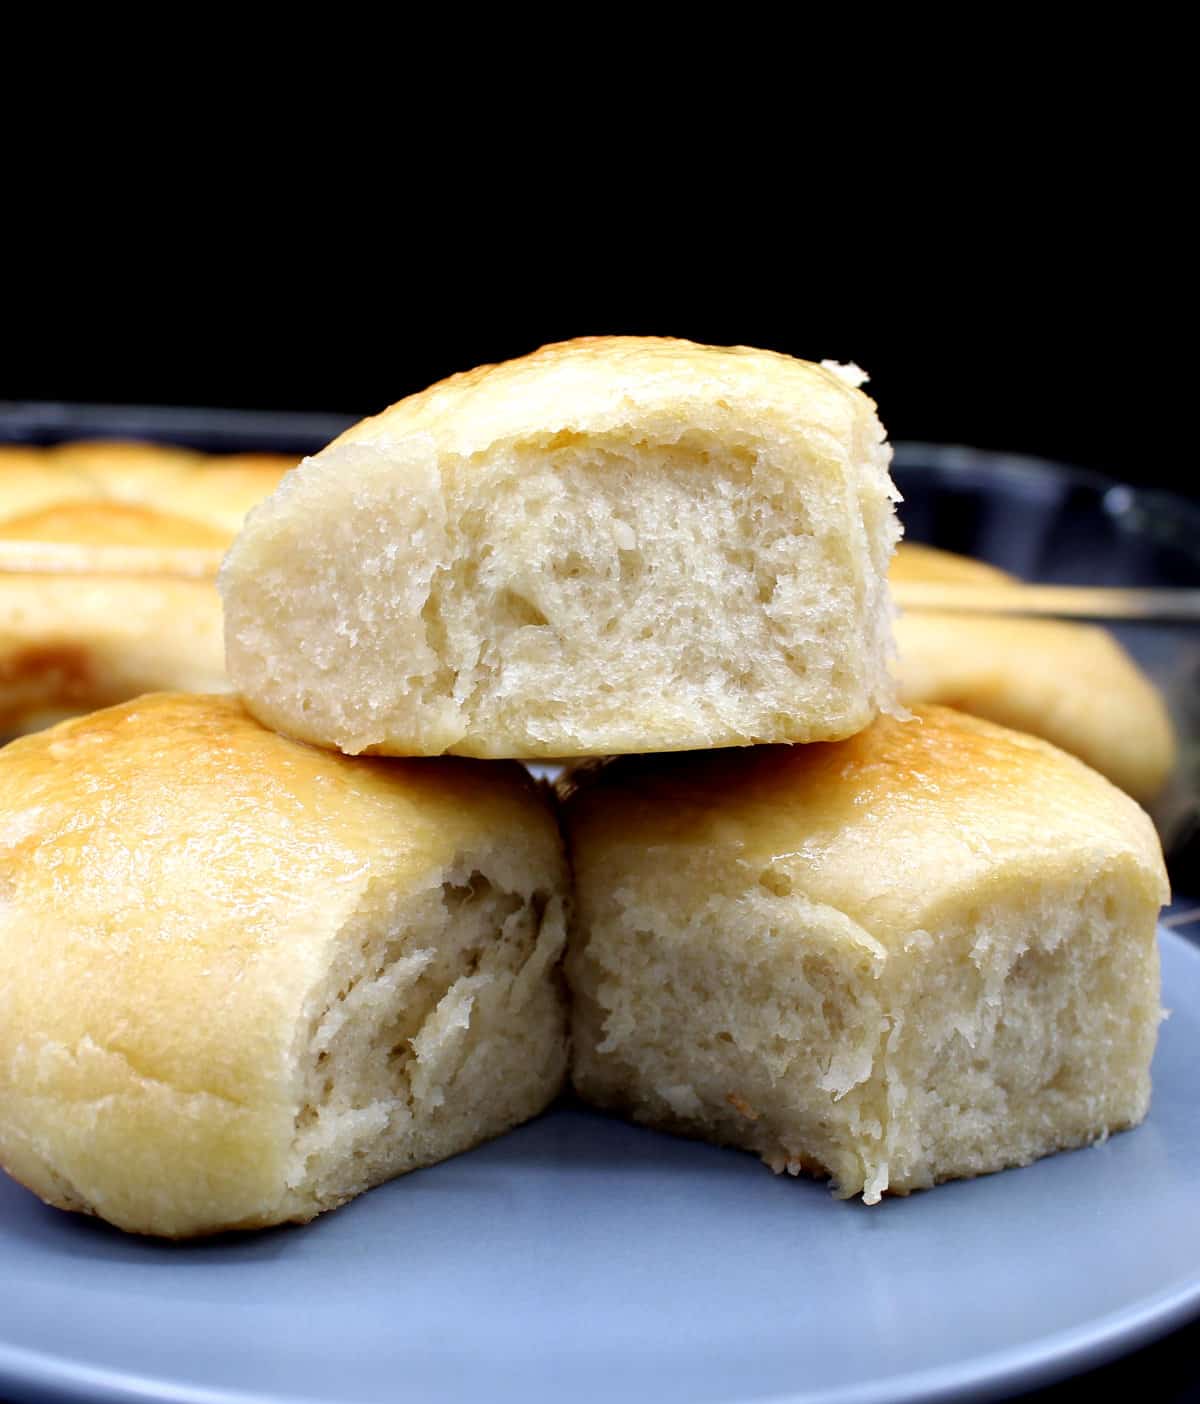
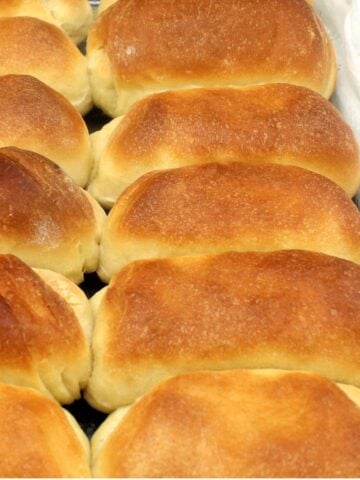
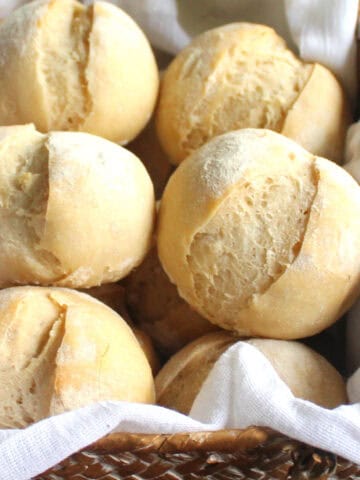
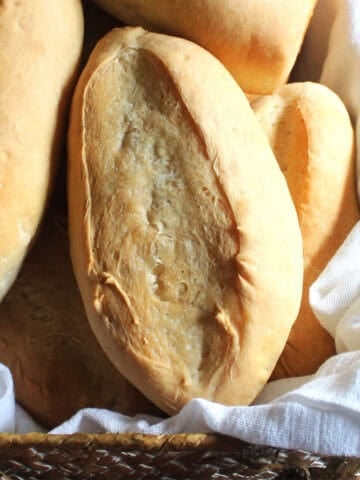
After the bread rolls have baked up, all plump and golden, you can tear them off into these perfect, flaky, layered clouds that are heaven to eat.
I've shared with you two vegan brioche recipes before--one for my amazing vegan Olive Oil Brioche, made with extra virgin olive oil, and another one for a healthier vegan Avocado Brioche, where fatty avocado replaces the butter, creating a beautiful, flaky green bread.
While the fat I used in both those brioches was unconventional -- olive oil and avocado, both with great results -- these brioche rolls veer more toward the traditional with vegan butter. (You can also use the other two brioche recipes to bake rolls, if you're so inclined).
Instead of eggs, so crucial in giving brioche that soft, feathery texture, I use aquafaba in these vegan brioche rolls. It works perfectly.
Table of Contents
Why you'll love these Vegan Brioche Rolls
- They're delicious. These rolls taste amazing, with a light, fluffy crumb and a hint of sweetness: exactly as brioche is meant to taste, but without the eggy flavor.
- They're easy to make. Making brioche does require some patience and making sure your dough has the right texture. But other than that, this is not a difficult process by any means and there's no reason you cannot try it with good results.
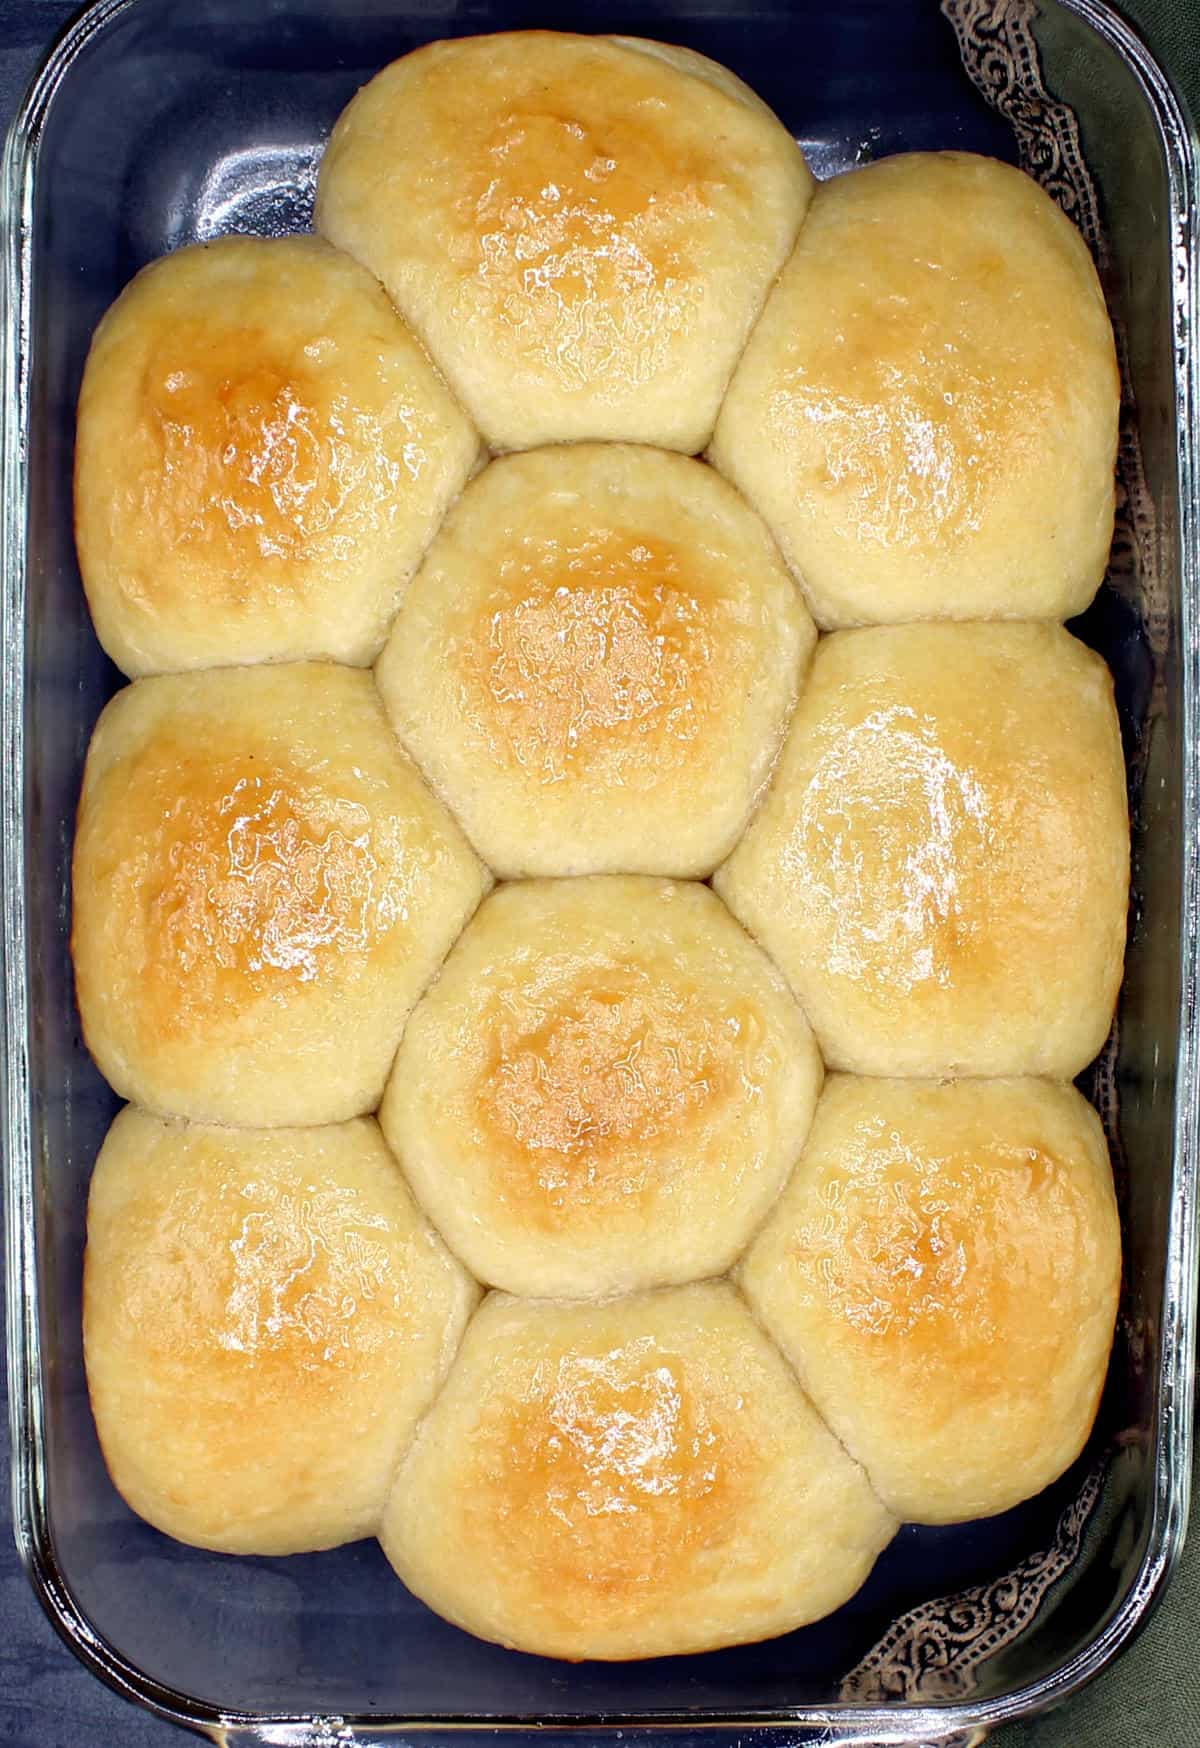
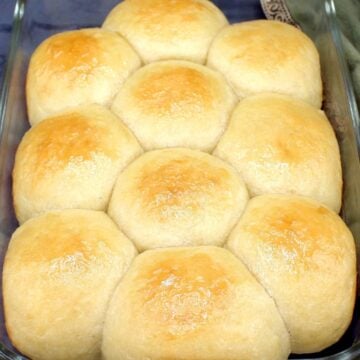
- You can shape them as you like. I baked these up as pull apart rolls. But you can also place them on a baking sheet, further apart from each other, and bake them into cute, chubby, rounded rolls. You can shape them into brioche burger buns. Or if you have those classic brioche tins, bake them in those. You can also just form rolls and bake them up in a loaf pan, creating a traditional-looking vegan brioche bread.
- They're an everyone pleaser. In my home these brioche rolls--the recipe makes 10 -- do not last more than a day. If you have a bigger crowd, you might just want to double up on the recipe.
Ingredients
- ½ cup soy milk or homemade cashew milk (made by blending ¼ cup cashews with ½ cup water). I like a higher protein milk here, so other non dairy milks are not preferred, but you can substitute with almond milk or oat milk at a pinch.
- 2 ¼ teaspoons active dry yeast.
- 2 ¼ cups bread flour. Bread flour is preferred here because it will help the texture of the brioche. If you can only use all purpose that's fine. If possible, try substituting a tablespoon of vital wheat gluten for an equal amount of all purpose flour.
- ¾ cup aquafaba (the brine from a can of chickpeas). This stands in for the eggs and really helps develop the light and airy texture of the brioche.
- 1 tablespoon sugar. A brioche should be lightly sweet. The sugar also helps develop the color of the brioche, so for darker rolls use more sugar, up to a maximum of three tablespoons.
- 1 teaspoon salt
- 12 tablespoons (1 ½ sticks) vegan butter. Make sure the butter is soft (not melted), at room temperature, when you add it to the dough.
How to make vegan brioche rolls
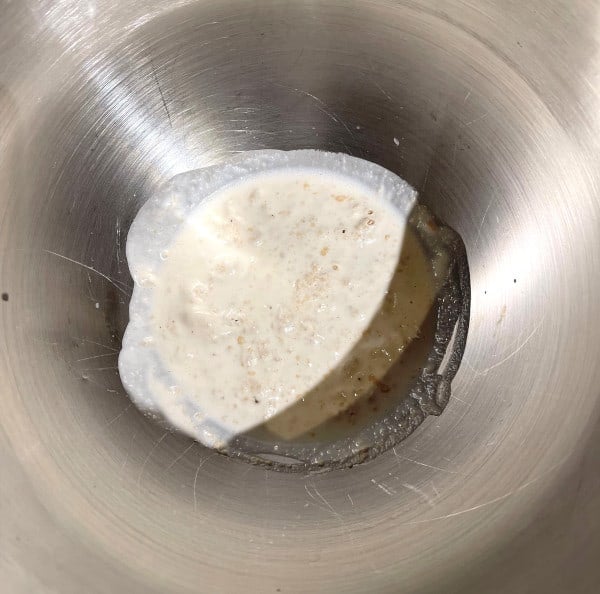
- Place the yeast in a large bowl or the bowl of a stand mixer. Add the nondairy milk and mix. Set aside for five minutes to allow the yeast to bloom.
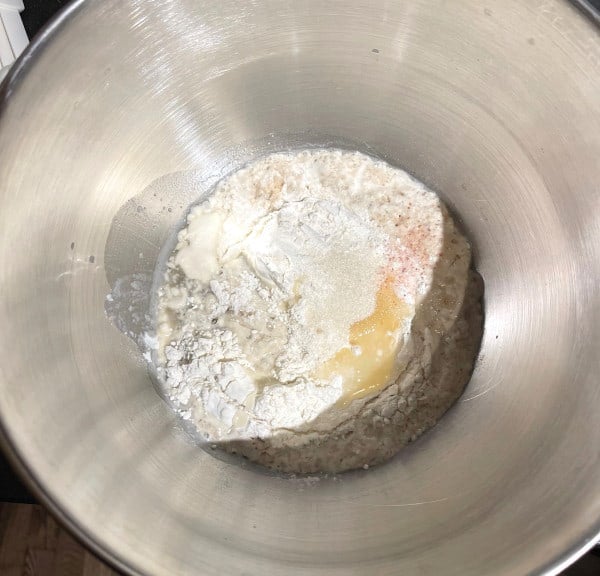
- Add 1 cup flour, aquafaba, sugar and salt to the yeast mixture in the bowl. Mix with a spatula or using the paddle attachment on the stand mixer.
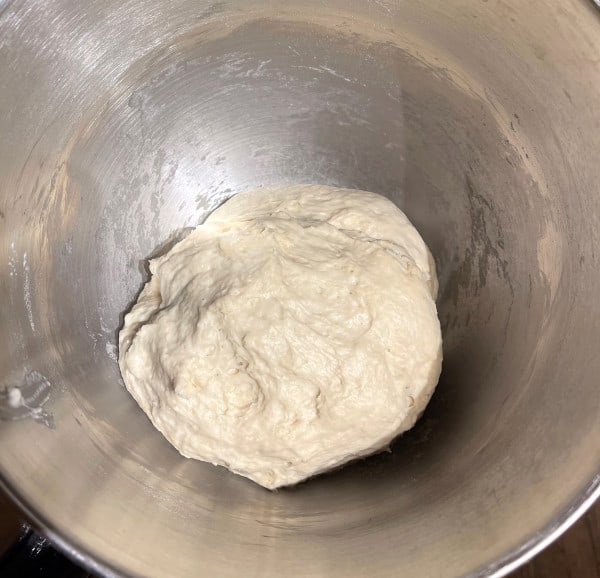
- Gradually add the remaining flour to the bowl and mix by hand or in the stand mixer until all the ingredients have come together. Cover the bowl and let the dough rest 20 minutes.
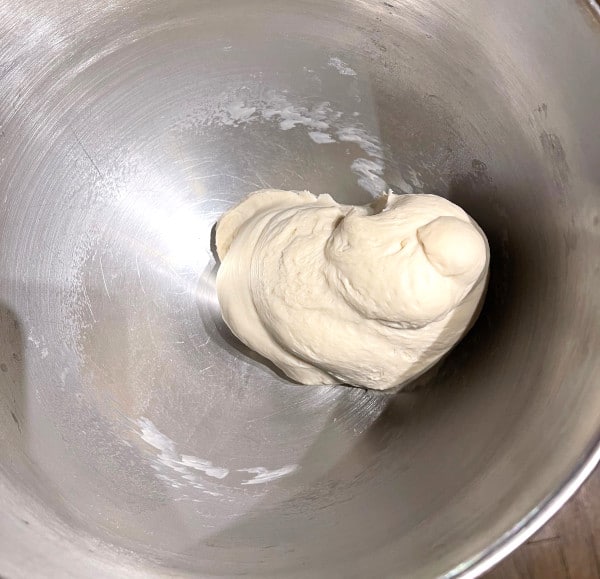
- Once the dough has rested, knead it. You can do this on medium-low speed in the stand mixer with the dough hook attached, for about 10 minutes. Since this is a sticky dough, this is best done in a mixer, but if you do it by hand be patient. It will take about 15 minutes before you get the right consistency. Fold the dough over itself and use a bench scraper to scrape up any that is left behind and add it back to the dough. By the end the dough should look smooth and supple. It will be soft but no longer sticky and it will be quite elastic.
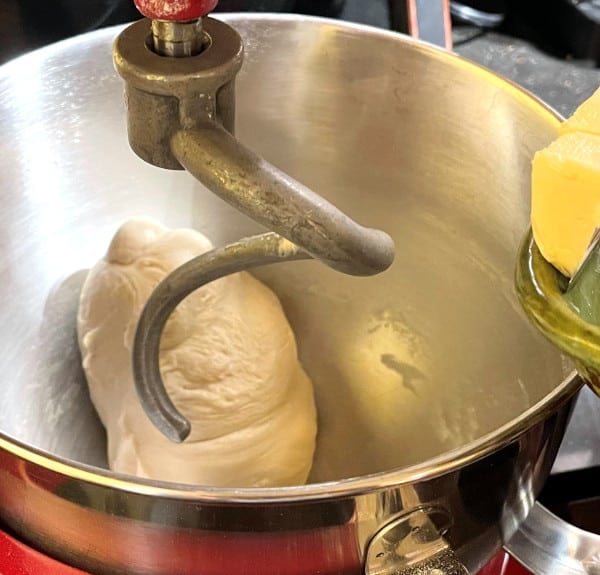
- At this point begin adding the butter to the dough. Again, a stand mixer is better for this, but if you're doing this by hand make sure you knead vigorously as you add the butter in. Set the stand mixer to medium-high or high speed and add the butter one tablespoon at a time, making sure you drop the butter on the dough and not the side (so it doesn't just flap around on the sides).
- Once you've added all of the butter to the dough the dough will look loose and stick to the bottom of the bowl. Just continue to knead until a very smooth, elastic dough forms. It will be soft and shiny but not at all sticky.
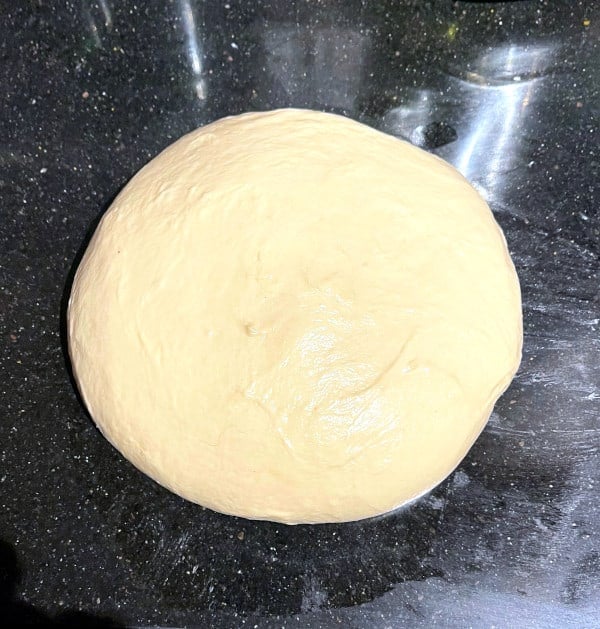
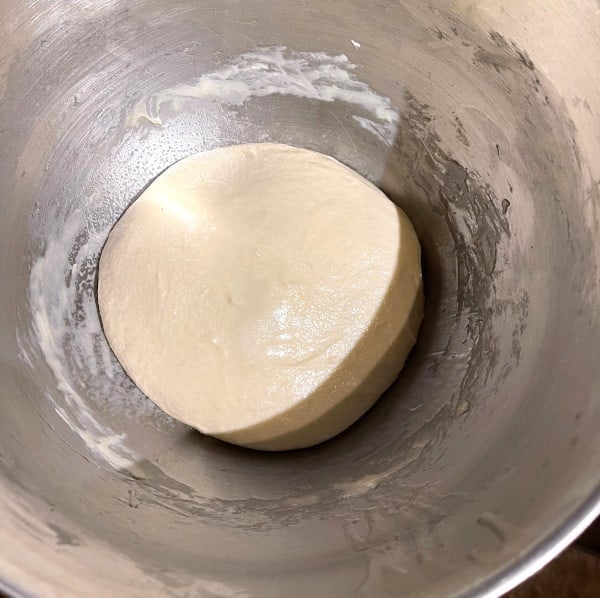
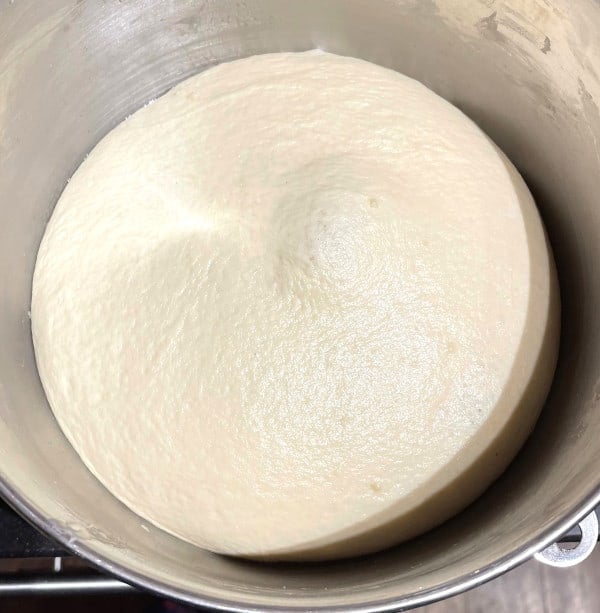
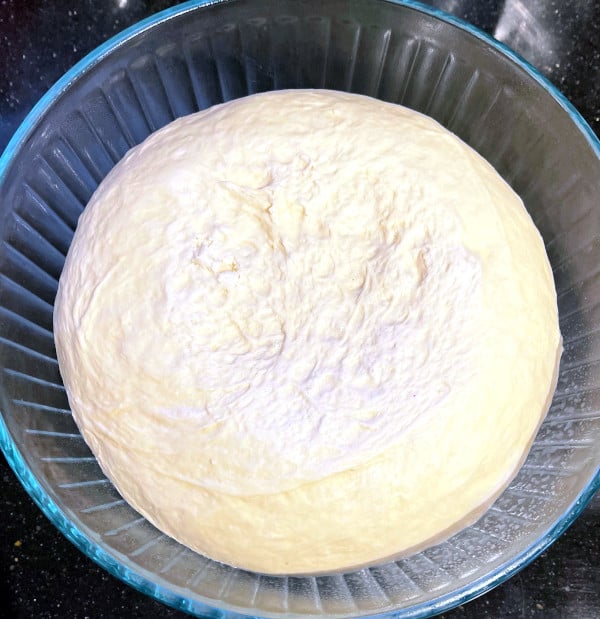
- Form the dough into a ball and place in an oiled bowl. Let it stand two hours or until doubled.
- Once the dough has doubled, knead it briefly, then shape into a smooth ball again and place in an oiled bowl. Cover tightly and refrigerate eight hours or overnight. This really helps the flavor of the brioche develop.
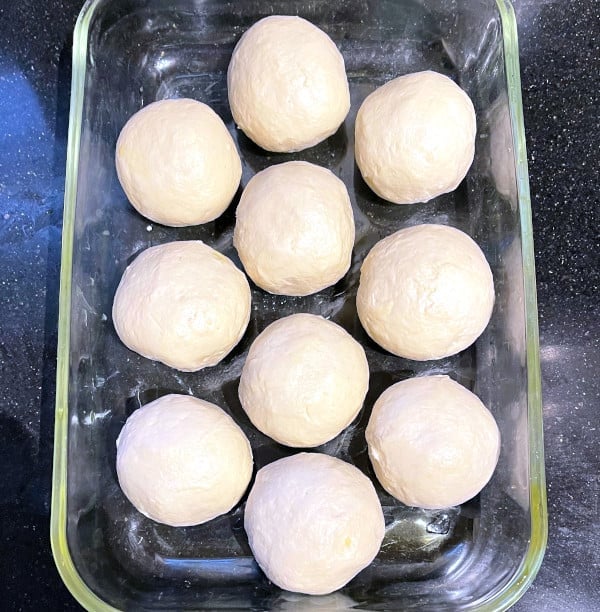
- The next morning remove the dough from the fridge. Shape it into 10 smooth rounds. If making pull apart rolls, as I did, place the rounds in an oiled two-quart baking dish, apart but close to each other. For more rounded buns, place them at least two inches apart on an oiled baking sheet.
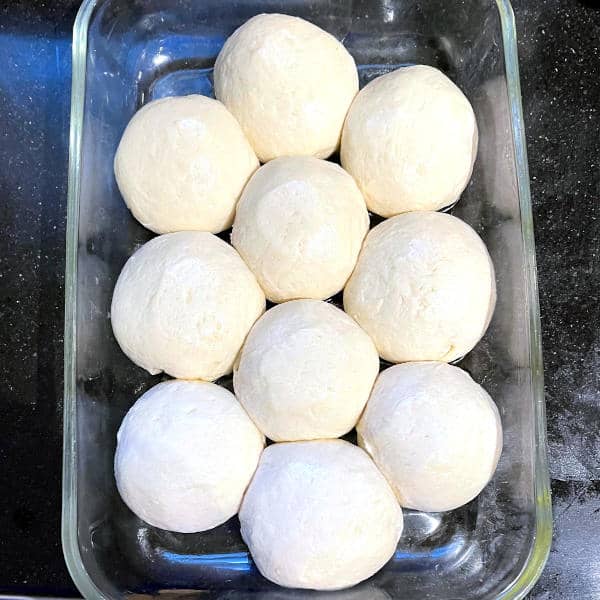
- Cover loosely with oiled cling wrap and let the buns rise for an hour and a half or until they are nearly doubled but not quite. My kitchen was rather cool on a fall day and it took nearly two hours.
- Preheat the oven to 375 degrees Fahrenheit.
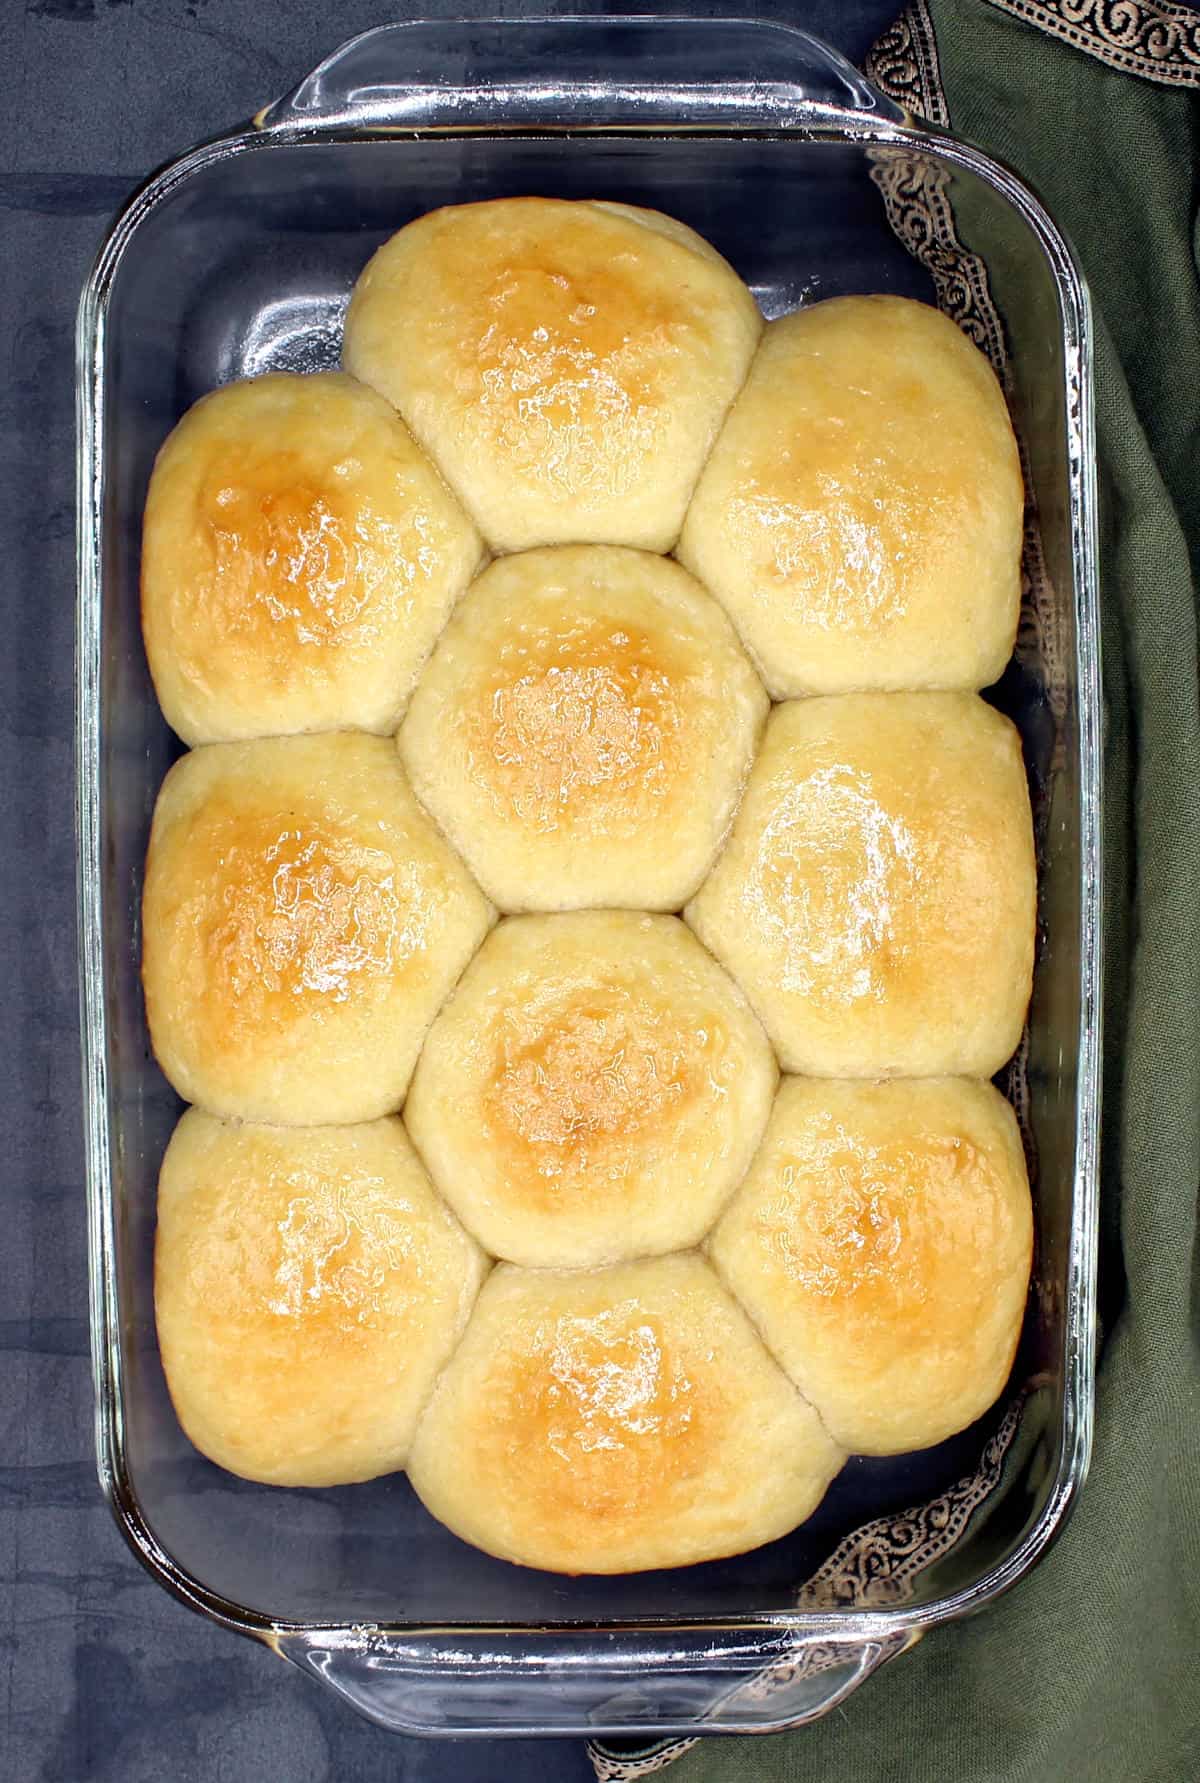
- Instead of an egg wash, which is used in traditional brioche, you can brush on an optional glaze of 1 teaspoon maple syrup, 1 teaspoon nondairy milk and 1 teaspoon oil on the tops of the risen rolls for a shiny look and darker color.
- Bake the rolls for 20-22 minutes or until the tops are lightly brown. Remember that for more color you will need to add more sugar to the rolls.
- Let the rolls cool on a wire rack. Serve warm or cold.
Tips for troubleshooting
- A brioche dough, at the first kneading, will be wet. It should become smooth after kneading for 10 minutes in the stand mixer or 15 minutes by hand but if you find that it's not, add a bit of flour, no more than a tablespoon at a time, until it does.
- The butter may take a while to incorporate into the dough, especially if you are kneading by hand, but be patient and keep kneading vigorously and it will get absorbed. The dough will look wet and sticky for a bit but as you knead it will come together and become smooth and shiny with no stickiness.
- If you find that you simply cannot get the butter incorporated, add a tablespoon or two of flour to the dough, which will help. But don't do this in a hurry--add only if you absolutely have to.
More tasty vegan bread roll recipes

Recipe card
Vegan Brioche Buns Recipe
Ingredients
- ½ cup soymilk (or homemade cashew milk made by blending ¼ cup cashews with ½ cup water)
- 2¼ teaspoon active dry yeast (1 packet)
- 2¼ cups bread flour
- ¾ cup aquafaba (chickpea brine)
- 1 tablespoon sugar (use up to 3 tablespoon sugar for more color to your rolls)
- 1 teaspoon salt
- ½ pound vegan butter (1 ½ sticks or 12 tablespoons)
Instructions
- Place the yeast in a large bowl or the bowl of a stand mixer. Add the nondairy milk and mix. Set aside for five minutes to allow the yeast to bloom.
- Add 1 cup flour, aquafaba, sugar and salt to the bowl. Mix with a spatula or using the paddle attachment on the stand mixer.
- Gradually add the remaining flour to the bowl and mix by hand or in the stand mixer until all the ingredients have come together. Cover the bowl and let the dough rest 20 minutes.
- Once the dough has rested, knead it. You can do this on medium-low speed in the stand mixer with the dough hook attached, for about 10 minutes. Since this is a sticky dough, this is best done in a mixer, but if you do it by hand be patient. It will take about 15 minutes before you get the right consistency. Fold the dough over itself and use a bench scraper to scrape up any that is left behind and add it back to the dough. By the end the dough should look smooth and supple. It will be soft but no longer sticky and it will be quite elastic.
- At this point begin adding the butter to the dough. Again, a stand mixer is better for this, but if you're doing this by hand make sure you knead vigorously as you add the butter in. Set the stand mixer to medium-high or high speed and add the butter one tablespoon at a time, making sure you drop the butter on the dough and not the side of the bowl (so it doesn't just flap around. I kept the mixer on low speed to capture the video, but make sure it's at an eight or so on a Kitchen Aid and you'll get the job done much faster.)
- Once you've added all of the butter to the dough the dough will look loose and stick to the bottom of the bowl.
- Continue to knead until a very smooth, elastic dough forms. It will be soft and shiny but not at all sticky.
- Form the dough into a ball and place in an oiled bowl. Let it stand two hours or until doubled.
- Once it has doubled, knead it briefly, then shape into a ball again and place in an oiled bowl. Cover tightly and refrigerate eight hours or overnight. This really helps the flavor of the brioche develop.
- The next morning remove the dough from the fridge. Shape it into 10 smooth rounds. If making pull apart rolls, as I did, place the rounds in an oiled two-quart baking dish, apart but close to each other. For more rounded buns, place them at least two inches apart on an oiled baking sheet.
- Cover loosely with oiled cling wrap and let the buns rise until they are nearly doubled but not quite. This should take about an hour to an hour and a half in a warm kitchen or in summer. My kitchen was quite cool on a fall day and it took nearly two hours.
- Preheat the oven to 375 degrees Fahrenheit.
- You can brush on an optional glaze of 1 teaspoon maple syrup, 1 teaspoon nondairy milk and 1 teaspoon oil on the tops of the risen rolls for a shiny look and darker color.
- Bake the rolls for 20-22 minutes or until the tops are lightly brown. Remember that for more color you will need to add more sugar to the rolls.
- Let the rolls cool on a rack. Serve warm or cold.
Nutrition Information
To print recipe card without images, uncheck "instruction images" after clicking the "print recipe" button.


Winnie says
These buns are just divine. I've made them about four times now and they are always perfect! They are going to be the highlight of our Thanksgiving table.
Ali says
These did not work out well for me. Are the quantities off somehow? I ended up adding more than a 1/4 cup of extra flour before the dough could be called "not sticky," and once baked they quickly deflated into flat greasy pancakes out of the oven. I used miyoko's butter, could the brand of butter be important? I really wanted this to work out well, I've been a baker for decades but am trying to make some things for my vegan partner and myself that I miss from earlier times
Vaishali says
Hi, It sounds like you overproofed the buns. That's the reason they fall flat. You need to follow the rise times accurately. Also depending on where you are and the weather in your area you might need more flour and 1/4 cup shouldn't make a difference.
N says
Can you give the weight of the flour or explain how you measure your flour? Thank you.
Vaishali says
Hi, just click on the "metric" tab in the recipe card for weight in grams!