

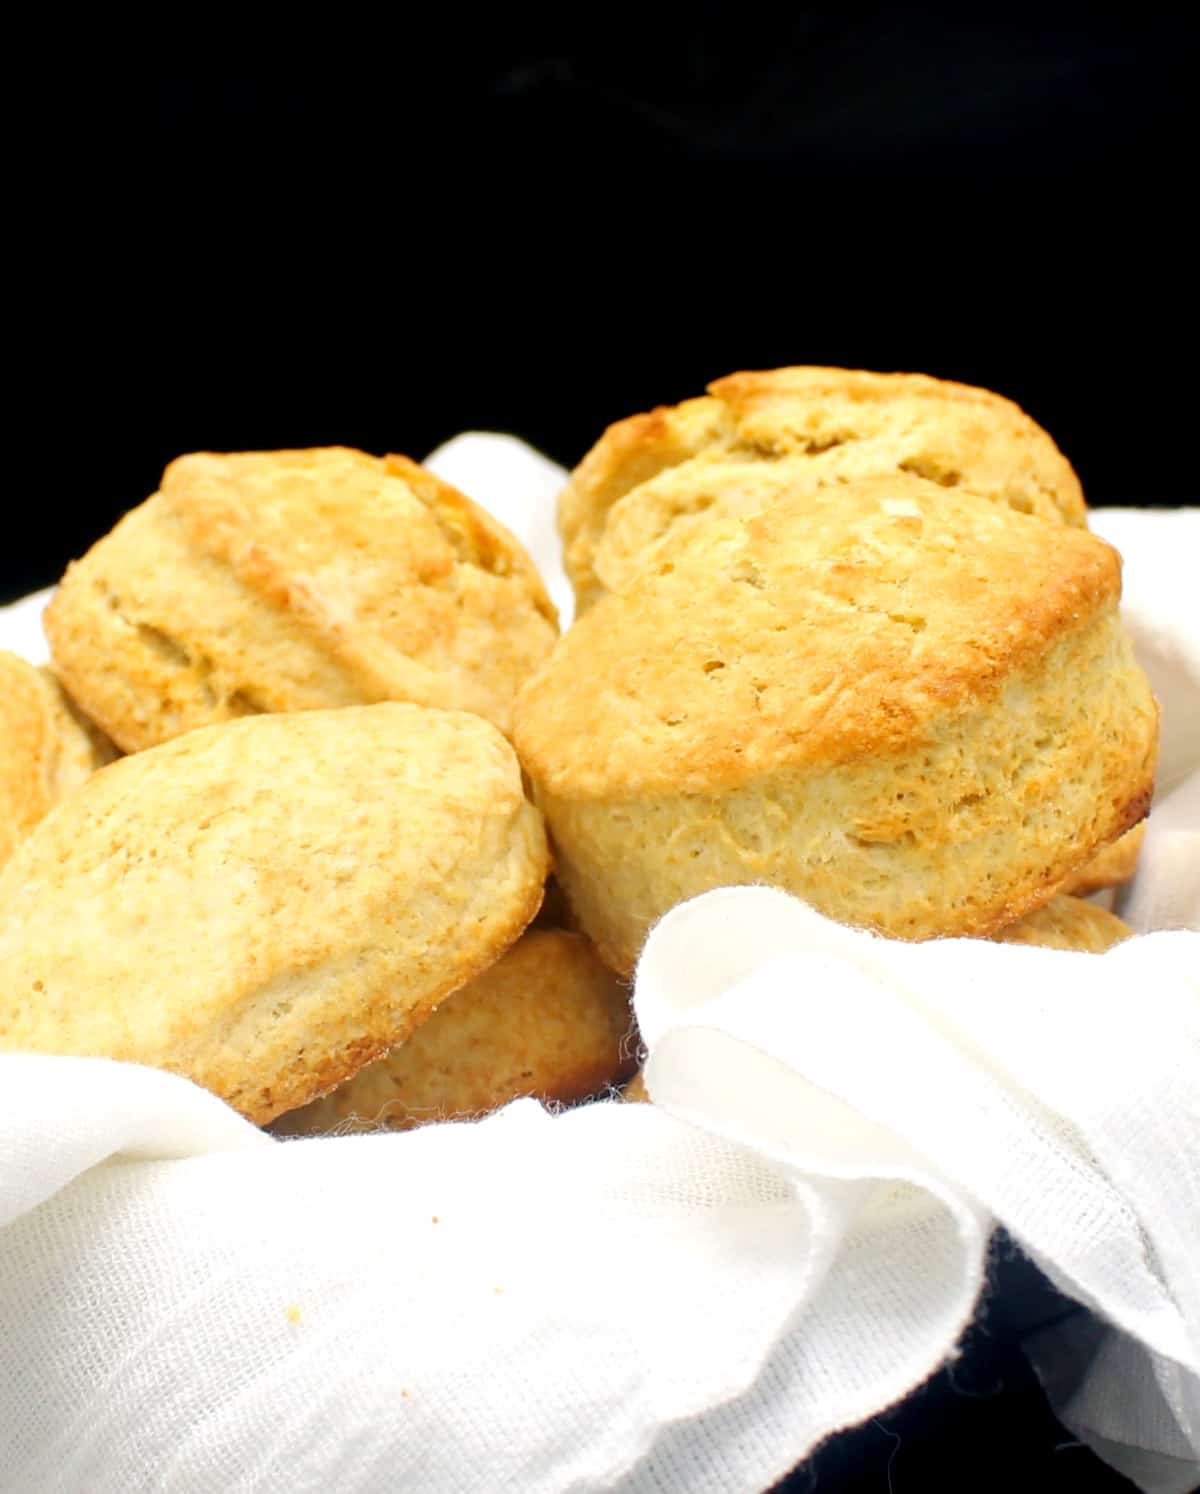
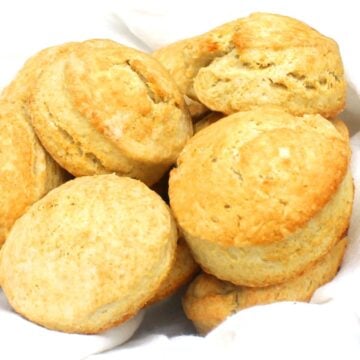
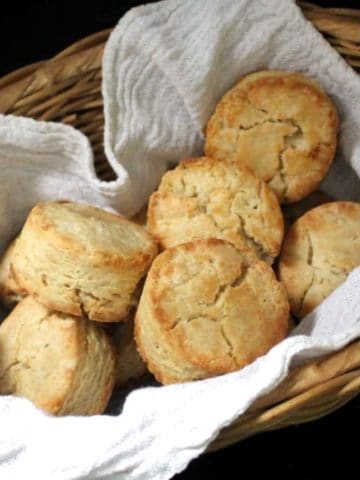
These vegan biscuits melt in the mouth with layers of flaky, fluffy and buttery deliciousness. The recipe riffs off a classic buttermilk biscuit and it guarantees the best biscuits you've ever baked.
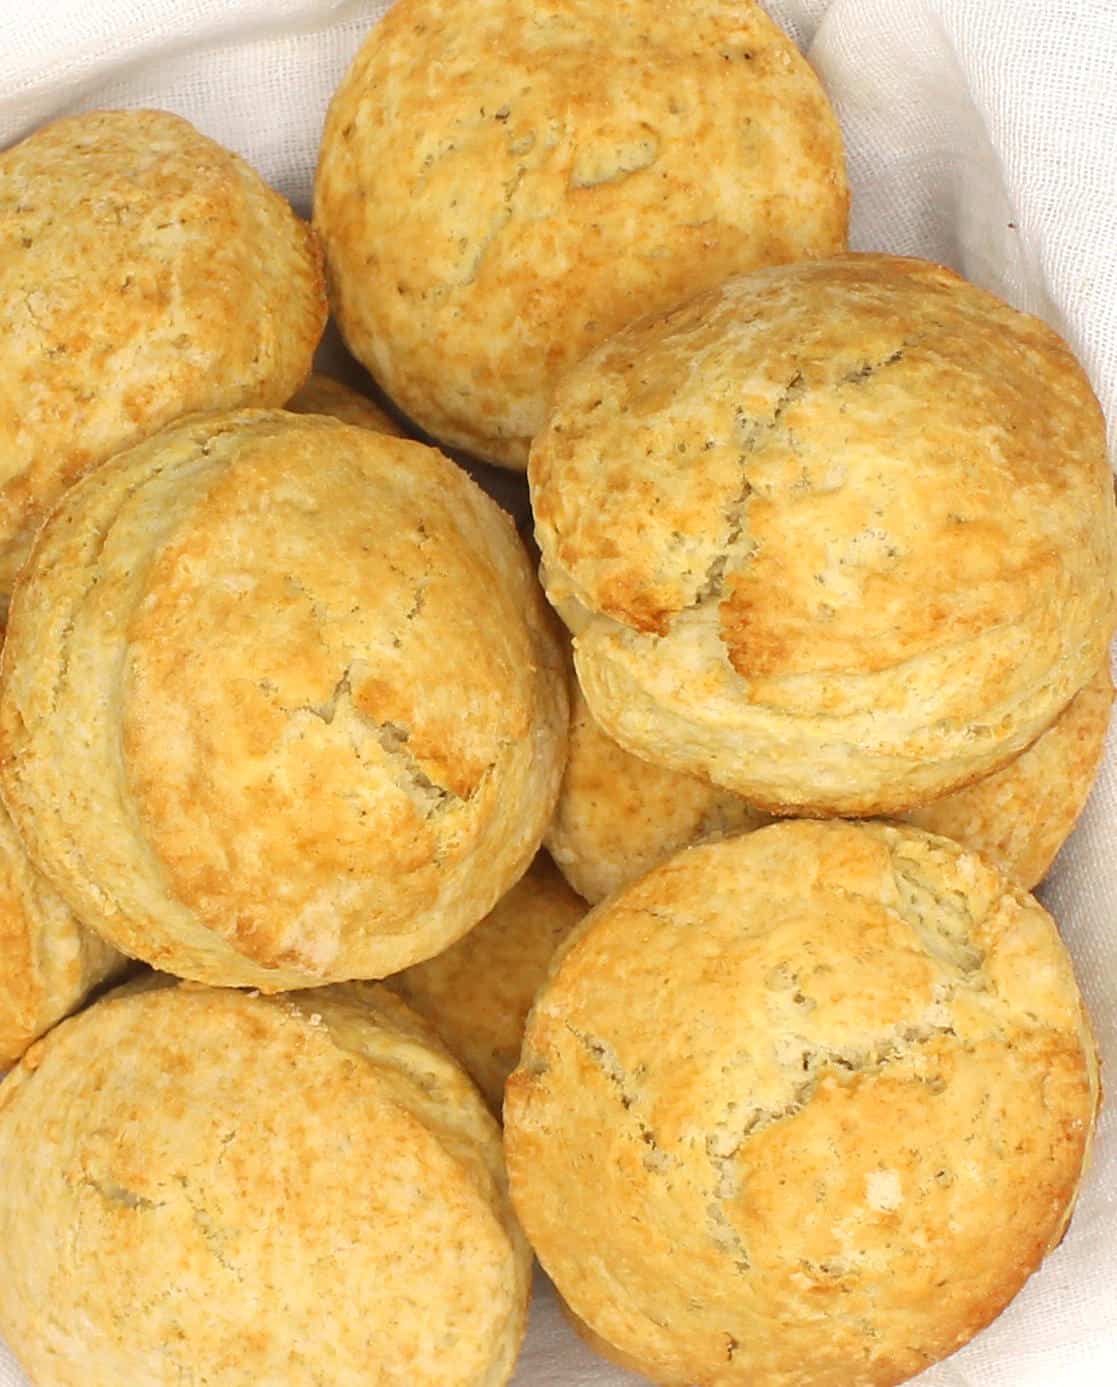
Table of Contents
Not just the best vegan biscuits - the best biscuits ever
These homemade vegan biscuits are often a top breakfast or dinner choice in our home. They are so delicious, they make any meal special. As the cook I also love them because they come together quickly with six pantry ingredients. And they take just 14 minutes in the oven to bake into melt-in-the-mouth yumminess!
Making biscuits is quite easy if you know how to handle pie dough. If not, you might have a small learning curve. But don't worry because I am going to make this really easy for you with step-by-step photos and detailed instructions.
When you make biscuits, there's one simple thing you need to keep in mind at all times: maintain all ingredients and working surfaces as cool as possible. That means -
- keeping the milk and vegan butter refrigerated until ready to use.
- using a fork, not your hands (which are warm), to mix the flour and the milk while forming the dough. You can use your hands to shape the dough into a disc.
- rolling the biscuit dough on a cool surface, like marble, if possible. If not, throw a baking sheet in the fridge, flip it over, and roll the biscuit dough on it.
The reason to do this is you don't want the butter to melt into the dough. Instead, you want little pieces of butter scattered throughout the dough. When the biscuits are in the hot oven, the bits of butter will melt, forming little pockets and creating those coveted layers.
Keep these simple tips in mind and you will be well on your way to mastering the most delicious biscuits you ever made and ate.
Just made these - simple and fabulous! - Kirsten
Recipe FAQ
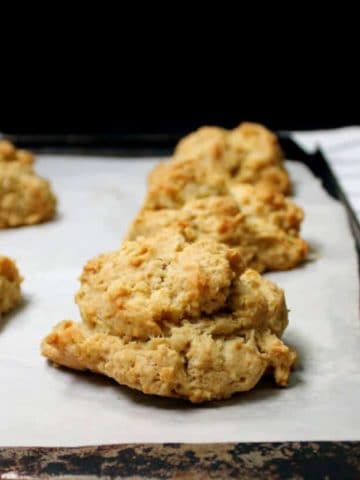
Use two cups of gluten-free all purpose flour and a tablespoon of tapioca starch or tapioca flour. You can also add ½ teaspoon of xanthan gum, if the flour doesn't already have some added to it. Proceed with making the dough as instructed. You might need more milk, because gluten-free flours tend to be thirstier. Once you have a dough, pat it into a circle half-inch thick on a floured surface using your hands. Bake the biscuits for 18 minutes.
Biscuits made with wholegrain flour won't be quite as fluffy. But if you want healthier biscuits, go for it.
We love these for breakfast with vegan butter and raspberry jam, or with a side of vegan scrambled chickpea eggs.
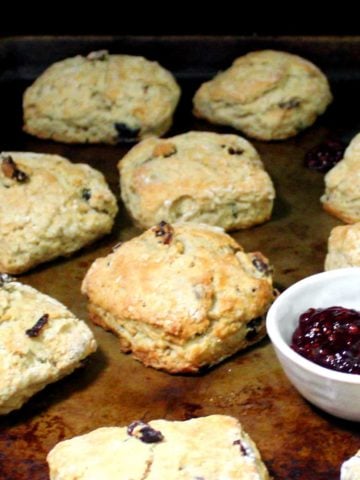
For lunch or dinner, use the biscuits to scoop up vegan meatball fricassee, vegan mushroom gravy or vegan beef stew.
My son enjoyed eating these biscuits on their own, for a snack.
Refrigerate leftover biscuits for up to four days. To freeze, flash-freeze the biscuits first on a baking sheet in the freezer. Then place in a freezer-safe container or bag and freeze for up to four months. Heat refrigerated biscuits in a 350-degree F/180-degree C preheated oven for 4-5 minutes or until warmed through. If reheating frozen biscuits, reheat 10-12 minutes, no need to thaw first.
Recipe card
Vegan biscuits recipe
Ingredients
- 2 cups unbleached all purpose flour
- 2 teaspoon baking powder
- ½ teaspoon baking soda
- ½ teaspoon salt
- 6 tablespoon vegan butter (very cold, straight from the refrigerator. Cut into small cubes just before adding to flour)
- 1 cup non-dairy milk (cold, straight from the refrigerator. Use any milk of your choice. I used oat milk.)
- 1 teaspoon apple cider vinegar
Optional wash
- 1 teaspoon oil
- 1 teaspoon non-dairy milk
Instructions
- Mix the non dairy milk with the vinegar and set aside in the refrigerator for a couple of minutes to curdle.
- Place the flour in a bowl with the baking powder, baking soda and salt. Whisk together.

- Add the butter to the bowl and, using a fork or a pastry-cutter, "cut" the butter into the flour until you have a coarse mixture with a few pea-size pieces of butter. You can also do this in the food processor--pulse the flour and butter three to four times, for five seconds each time, no more, until the butter has broken down into smaller bits.
- Slowly drizzle in the nondairy milk and vinegar mixture, and mix with a fork until the dough forms. If doing this in the food processor pour the milk through the feed tube while turning on the "pulse" button in short bursts. You may not need all of the milk.
- Form the dough into a disc.
- Wrap the biscuit dough in cling wrap, flatten into a disc, and place in the refrigerator for 5-10 minutes.
- Preheat oven to 450 degrees Fahrenheit/230 degrees Celsius.
- On a floured surface, roll out the dough about ½-inch thick. Use a cookie cutter to cut out biscuits. Roll up dough scraps and cut more biscuits. You should get about 10-12 biscuits.
- Place the biscuits at least an inch apart on a baking sheet. If using optional wash, which will give the biscuits a richer, golden color, mix the oil and milk in a small bowl and brush the tops of the biscuits with the mixture. Bake the biscuits for 14 minutes until fluffy and golden.
- Serve the vegan biscuits hot or warm.


Notes
- For flakier biscuits, refrigerate the biscuit dough for five minutes before cutting out biscuits.
- When you cut the biscuits, flour the cookie cutter lightly and don't wiggle it into the dough as you cut--cut straight down in a firm, decisive motion. This will help the biscuits rise better, with flaky layers.
- Roll the biscuit dough on a lightly floured surface. You want enough flour to keep the dough from sticking, and you should also flour your rolling pin as well as scatter a bit of flour on top of the dough to make rolling easier.
- Round biscuits are classic, but you can also use a square or rectangle cookie cutter. Why you'll love these vegan biscuits
Nutrition Information
To print recipe card without images, uncheck "instruction images" after clicking the "print recipe" button.


Charlotte says
The best biscuits ever! I grew up in the south and these are as good maybe better than most biscuits I ate growing up. We've been making these almost every week.
Vaishali says
So happy you loved them, Charlotte. We are very partial to them hereabouts as well. ❤️
Angel & Paul M. says
Thank you for such detailed instructions. While I’m working my husband is going to make these for me because your great directions.
Anonymous says
-Thank you!
jacquie says
HI - the recipe looks good and i'm looking forward to trying it. I do have one question though as to why the number of biscuits/serving is so different for these compared to your buttermilk ones when the same amount of flour is used. thanks.
Vaishali says
Hi Jacquie, it's just the size of the biscuits. You can make them bigger or smaller for more or fewer servings.
Moki says
Hello, I have a friend who has just figured out that she has an unpleasant reaction to xanthan gum. Are there any alternatives? Tnx
Vaishali says
Hi Moki, skip the gum.
Melissa says
I made the gluten free version of these biscuits this morning, right after finding the recipe. They are yummy. They are moist and soft on the inside with a slight crisp to the outside. I followed the directions exactly. I put the dough in the freezer before baking. The only thing keeping it from being a 5 star rating is that the biscuits did not rise very high. I don't know if that's a GF thing or what. It didn't take away from the taste though.
Ann says
Could you sub cold coconut oil for the vegan butter?
Vaishali says
Yes! Refrigerate it first so it's really firm.
Lucy says
Thank you for this recipe. Turned out great!
Hubby and kids liked the biscuits as well. 😉
Vaishali says
So happy you made the biscuits, Lucy!
Sharmi says
Hi, I am new to the vegan and dairy-free world and love your recipes. I have a question. Have you tried using any gluten-free flours? If yes, what would you suggest?
Vaishali says
Hi Sharmi, I tried a gluten-free version of these last night using King Arthur measure for measure which is the gf flour I usually use. It already has xanthan gum added. I have included instructions for making the biscuits gluten-free above, both in the tips section and within the recipe. Hope that helps.
Leslie says
Has anyone tried these using all-purpose GF flour? My friend's husband has celiac disease, and as a Southern girl born and bred, she really misses biscuits.
Vaishali says
I made a gluten-free version of these last night, and have included the instructions within the recipe, with additional tips above. These turned out delicious.
Anonymous says
These were awesome. Best biscuits ever ! I read on some other blog to fold the dough over a few times to make them flaky and turned out perfect.
Anonymous says
Baked these a few days ago...something told me it seemed like a lot of baking powder, but I shrugged it off given the other reviews. When they came out, they smelled like baking powder and were bitter. Not willing to give up, I used 1/2 a teaspoon less baking powder than your recipe calls for the next time I made them. This time, they were light, fluffy, savory, and tasted great. No baking powder smell. Wondering if anyone else experienced the baking powder bitterness when they made these.
Phyllis says
2 teaspoons of baking powder is the amount traditionally added to 2 cups of flour for biscuits whether vegan or not. I have my grandmother’s biscuit recipe from the early 1900’s & this is what she called for so it’s what I’ve always used. I have found, though, that not all baking powders are the same. I typically use Rumford aluminum free but decided to try Backer’s Cream. The Baker’s Cream gave me that same smell & taste you described so I had to cut back on that one. But Rumford, my go to, I keep at 2 teaspoons. I’m not sure if there are other baking powders out there but something to consider.
Unknown says
Hey, loved your bean and oat burger recipe!! THank you!
Unknown says
Hey, accidently came upon your site when i was looking for bean burgers. Thank you, tried them out and loved them absolutely............
Anonymous says
This is hands down the best vegan recipe site ever! Keep it up girl you're awesome,
Kirsten Lindquist says
Just made these - simple and fabulous! Thanks for sharing
Vaishali says
Anon, no, that's not accurate. Cookies come in all textures, and in India cookies are called biscuits.
Miranda @The Pinterest Project says
Made these tonight, and they are fantastic - my southern born and bred husband even approved, and that's saying a lot!!