

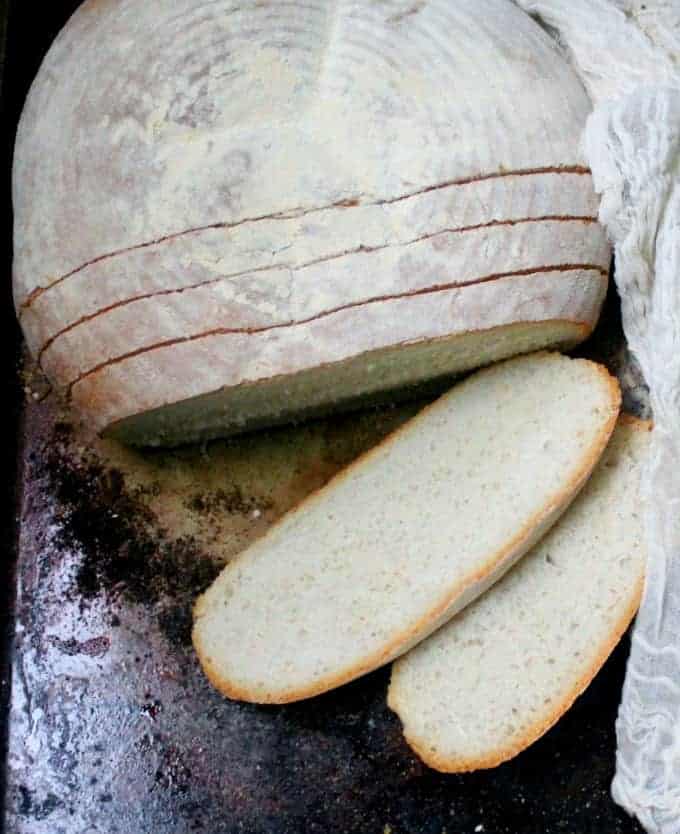
This delicious, flavorful and saltless Tuscan Bread, or Pane Toscano will have you coming back for more. It has a crunchy and crispy crust and a soft, airy crumb and it's delicious with soups, sauces and bruschetta.
Of all the breads I make, this classic bread from Tuscany, called Pane Toscano, is one of my favorites.
It's probably the bread I make most frequently in my kitchen, even more than sourdough bread, and the reasons are obvious: a crisp but not heavy crust and a soft, pillowy crumb, which makes it perfect for dunking it into soups or sauces. It is also the perfect bread to make bruschetta or smear with some vegan pesto, if you have a mind to.
What makes the process of making this bread a little different is that it starts out with a biga, a starter that's kinda like a sourdough starter on speed.
The biga is made with flour, water and yeast, and you start it the previous night, let it stand and ferment a bit overnight, and then make a dough with it the next morning. So if you've been wanting to make a sourdough starter and have been sitting on the fence about it, this is a good one to begin with.
But to be clear, a biga is not a sourdough starter: it has lots of flavor, but not the deep, rich flavor of sourdough, developed over days and months and years. It has added yeast, unlike sourdough which uses natural yeast seduced from the atmosphere. Also a dough made with biga will rise much faster than a dough made with sourdough starter alone.
Because the biga needs eight hours to develop, I'd advise starting on this bread the evening before if you plan to have it for lunch the next day, or rather early in the morning if you want it in time for dinner.

Tips
- Give it time. This is not a bread to make in a rush because you want all of that wonderful flavor. So remember to make your biga or starter the night before, and give it time to bubble up and ferment in a warm place.
- A Tuscan bread is saltless -- all the better to scoop up flavorful sauces and soups with, or use for bruschetta. If you absolutely want salt in here, add a teaspoon or two, depending on your taste, when you knead the dough.
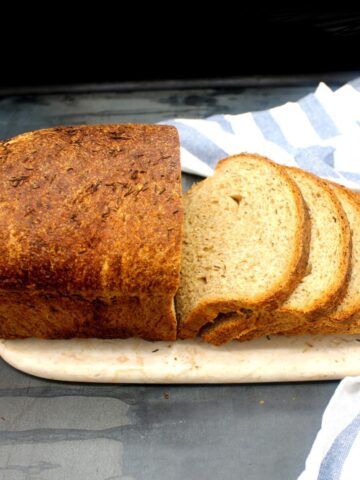
- You can make this dough with all purpose flour, as I did this time, or you can add in a cup of whole wheat flour for a little more complexity and flavor. When I use whole wheat flour, I add it the night before, to the biga.
- Your dough should be smooth and soft, not firm, but it should not be sticky. So when you're kneading it, if it starts sticking to the bowl or your hands, make sure you add some flour, but not too much.
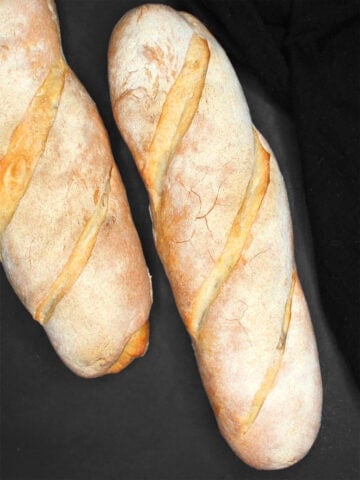
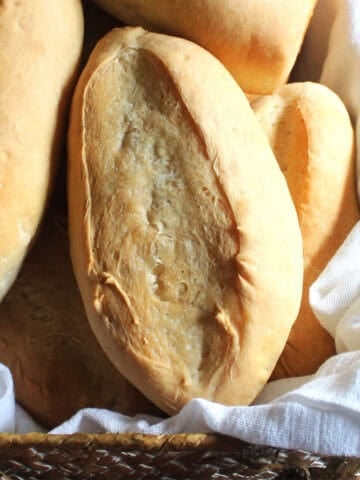
- This is a freeform bread, and I usually shape it up into a boule and let it rise on a baking sheet. The resulting loaf is huge, so if you want to separate it into two loaves, that would work too. Or shape it into a long loaf, like a batard.
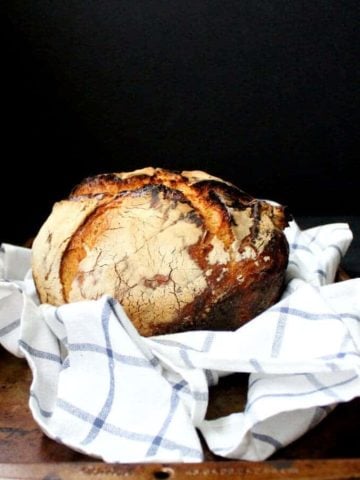
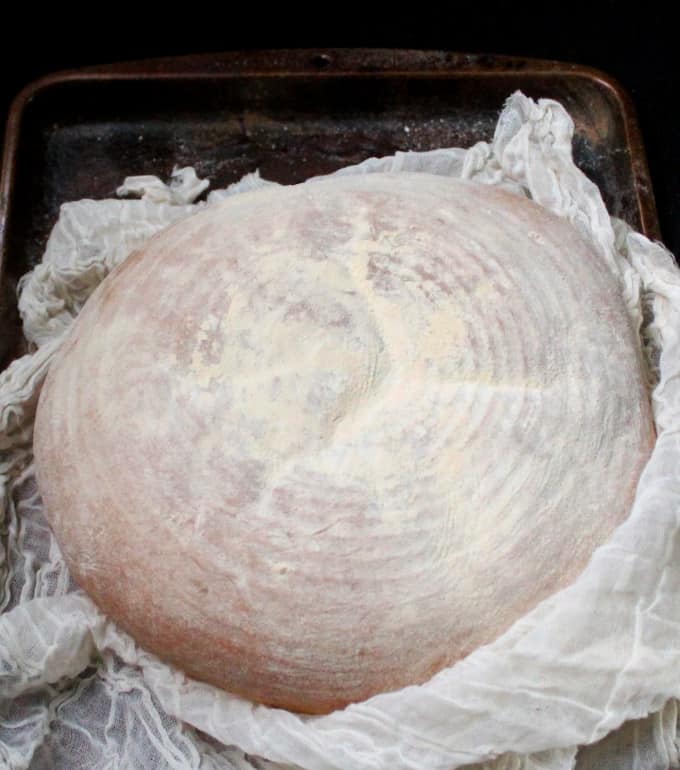
- I recently got a banneton basket and wanted to see how this bread would rise in it, so I used it when I last made this bread. It shaped up quite nicely, rings and all.
- That said, I made one mistake when I proofed the bread in the banneton. I didn't feel like spoiling that beautiful design by scoring the bread, which I usually do. Not a good idea, because the gases in the fermented biga need to escape and as a result my banneton loaf ended up cracking at the base. It still looked beautiful, though, and came out quite perfect taste- and texture-wise. Even so, a reminder to score that bread!
More vegan bread recipes

You might also like these recipes for Italian bread, ciabatta and sourdough focaccia.
Recipe card
Tuscan bread (Pane Toscano)
Ingredients
- 2 teaspoon active dry yeast
- 2 cups lukewarm water
- 5-6 cups unbleached all purpose flour
- 1 tablespoon extra virgin olive oil
Instructions
- Bloom the yeast and water in a large bowl for five minutes. Then add in 1 ¾ths cup flour and mix by hand or in a stand mixer. Cover and set aside to rise in a warm place, about 8 hours or overnight.
- Add 3 cups flour and knead until a smooth but soft dough forms. It should come off the sides of the bowl and shouldn't feel sticky. Knead in the olive oil and continue kneading in the stand mixer for eight minutes, with the speed set to medium, or by hand for 10-15 minutes. Add flour, a little at a time, if the dough starts sticking to the bottom of the pan while kneading.
- Place the dough in an oil-coated bowl, cover with a kitchen towel, and set aside for two hours or until it's doubled.
- Lightly oil a baking sheet and cover it with some cornmeal or semolina. This will make it easier to slide the loaf off the baking sheet.
- Punch down the dough and shape it into a round by pulling on the sides and tucking them underneath. You can either set the loaf to rise on a baking sheet or, if you have a banneton, place it inside the banneton, smooth side down, to rise. Cover the dough loosely with a shower cap or, if it's rising on the baking sheet, sprinkle some flour on top to prevent it from sticking and cover with a kitchen towel. Let the dough rise another 1 ½ hours or until the loaf has doubled in size.
- About half an hour before baking, heat the oven to 425 degrees. Place a small, ovenproof pan in the lowest rack of the oven.
- With a sharp knife or a serrated knife, make two quick gashes, like a cross, on the top of the loaf, taking care not to deflate it.
- Place the bread into the preheated oven, and immediately add a cup of water to the ovenproof pan you'd already placed in the lowest rack of the oven.
- Bake the bread for 40 minutes. Remove from the oven and place the loaf on a rack to cool.
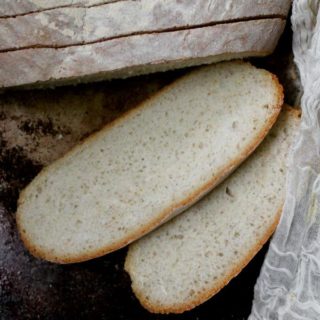
- After the bread has cooled, slice with a serrated knife.
Nutrition Information
To print recipe card without images, uncheck "instruction images" after clicking the "print recipe" button.


Charlotte says
Delicious bread. I made all sorts of mistakes, forgot to add oil then added too much oil, used bread flour, let the biga get too cool over night. Still turned out fabulously! Will definitely make again, hopefully with fewer errors. Forgiving, easy, delicious bread!!!
CooKING says
Can this be made with other flours such as whole wheat or multigrain wheat?
Vaishali says
Hi, there is some whole wheat in this recipe but making it all whole wheat would end up making the bread very dense. If you bake with sourdough you could attempt adding some sourdough to the bread dough to make it lighter, perhaps.
Charlotte says
Delicious bread. I made all sorts of mistakes, forgot to add oil then added too much oil, used bread flour, let the biga get too cool over night. Still turned out fabulously! Will definitely make again, hopefully with fewer errors. Forgiving, easy, delicious bread!!!