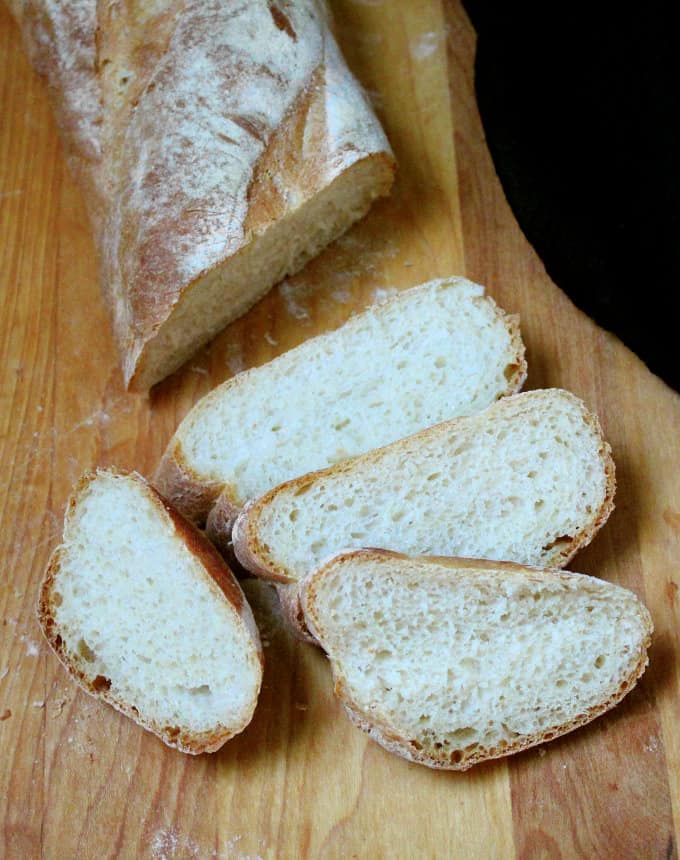
A fluffy, soft crumb and a golden crust will make this easy French Bread your favorite bread to bake and eat. Make fresh, homemade bread even on a weeknight.
I haven't posted a non-sourdough bread in a while, so I thought I'd remind you about this amazing and easy French Bread recipe I shared with you all the way back in 2009. It's my favorite French Bread and I make it ever so often, as do so many of you who have written to tell me all about it.
My recipe's still exactly the same, but I've updated this post with new photographs, because the old ones were, well, to put it nicely, dated.
This is an extremely easy bread to make, with two rather quick rises and just 25 minutes in the oven. And it is quite fool-proof. In fact, if you're a new baker, this is the recipe to give you the confidence you might be looking for as a bread baker.
The wonderful thing about French bread is, it is rather minimalist, with just a few ingredients. So what's stopping you? Let's dive in.
Four ingredients for Easy French Bread:
- Flour. Unbleached all purpose is what you need for this recipe. I have a foolproof whole-wheat French bread recipe on the blog with step-by-step pictures that you can try if you want a wholegrain bread.
- Water. Try and use distilled or filtered water for the best results when you bake bread, because chlorine is not a friend of yeast.
- Sugar. You just need a teaspoon to feed your yeast.
- Salt. For flavor.
How to make the best French Bread you ever baked (or ate):
- I always tell you with bread recipes that baking is a science, so you really, really need to pay attention to proportions and measures and not tweak things, especially if you're new to bread baking.
- When you use active dry yeast, as this recipe requires, always start by "flowering" your yeast. That's just another way of saying that you should ensure your yeast has not passed on into yeast heaven or wherever it is that dead yeast go. The best way to check the health of your yeast is to stir it into some warm water, feed it with a bit of sugar, and if it bubbles and froths up within five minutes, you'll know it's still among us and therefore fine to use. If your yeast shows no activity, it's likely dead, so buy some new yeast and start over. Unless you want a French brick rather than a French bread.
- Once you've ensured your yeast is alive, add the remaining water and two cups of flour, mix it in, and then add salt.
- You want your French bread dough to be just slightly sticky but also very supple. So it should stick just slightly to the surface of your bowl or your kitchen countertop when you put the dough on it, but it should also come off easily, without leaving any dough behind, and you should be able to easily shape it into a ball. The way to ensure you get the right texture is to knead the dough for at least five minutes. This also helps build the gluten in your bread, which gives your bread great structure and helps it rise.
- Your first rise should take 45 minutes to an hour and your dough should visibly double. Make sure you oil the bowl before you put your ball of dough in it, cover it with a kitchen towel or cling wrap, and set it in a warm place, like the inside of the oven with the light turned on, or on the countertop if you're in warm climes.
- Once your dough has risen, turn it out on the countertop, knead it ever so slightly, divide into two, and form each half into a bowl. Punch each half into a circle with your fist, then roll it into a cylinder, making sure you seal the seams with your fingers.
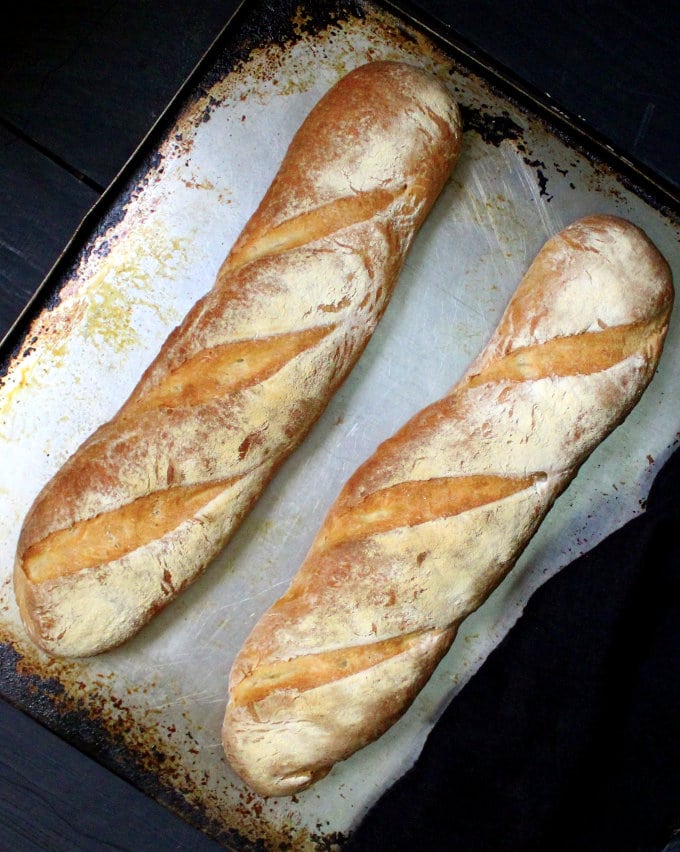
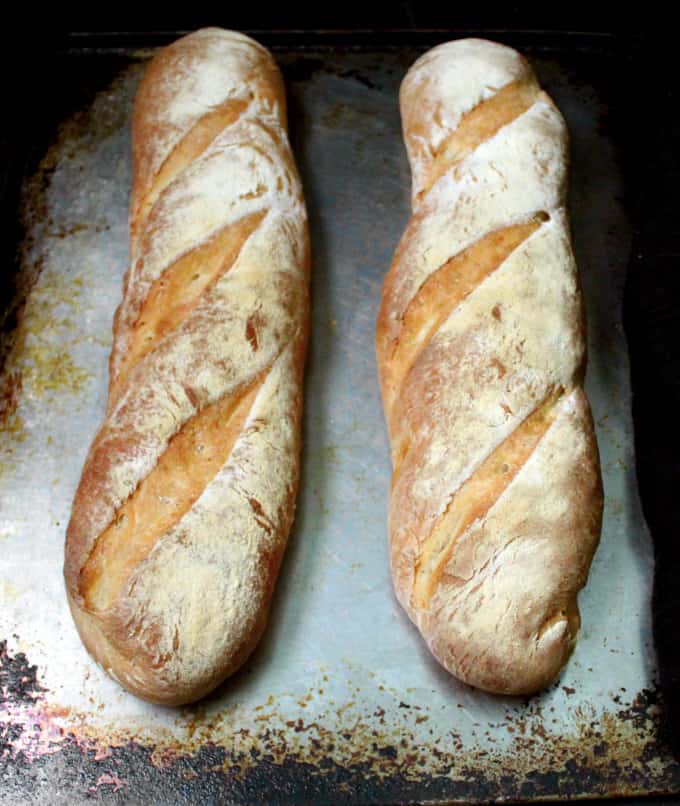
- Finally, roll each cylinder back and forth on the countertop using the palms of your hand to shape it into a baguette about 12 inches long, or as long as your baking sheet will hold. French baguettes are really long and really thin, and I don't have a baking sheet that could hold one that long, so my French breads look halfway like batards, which are shorter, fatter French breads. Equally delicious, though.
- Place your shaped baguettes on a parchment-lined baking sheet or you could just sprinkle the sheet with some coarse cornmeal. Make sure your baguettes are spaced at least three to four inches apart to give them room to rise.
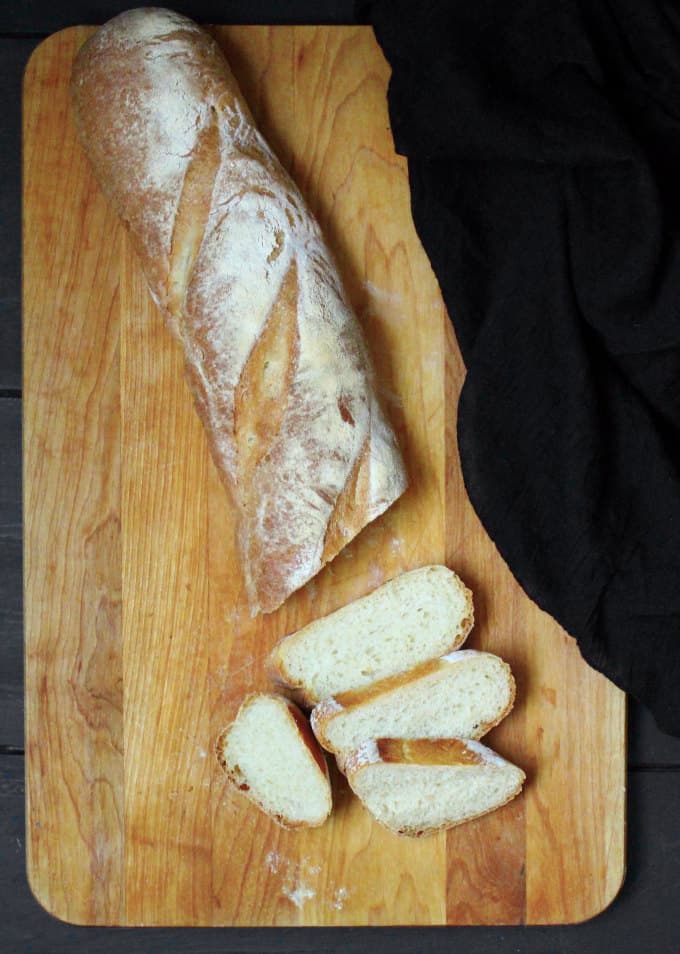
- Dust on some flour on the tops of the baguettes before you set them aside for the second rise. This is because you want to cover the baguettes with a kitchen towel to prevent them from drying as they rise, and you don't want the dough to stick to the kitchen towel. I also like the rather decorative, rustic and artisan-y look the flour gives the bread.
- You will need to slash your bread before you put it in the oven. Now this is the only part that can be a tiny bit challenging because if you use a knife that's not sharp enough, you could cause your baguette to deflate, which would be a pity after that beautiful rise. The easiest way to make a cut, I find, is with a steak knife that has a serrated edge. The knife is not so heavy that its weight could cause the loaf to deflate, especially if you're new at this, and the serrated edge cuts through the dough easily. Be bold and confident -- at least as bold and confident as you can -- when you make the cut, and try and make a clean gash the first time round. Channel your inner surgeon. You don't want to butcher your loaf--you just want to eat it.
- Spray the insides of your oven with water before you bake. You want a nice crust on your French bread, and the water will help with that.
- Finally, make sure you cool your loaves thoroughly on a rack before you slice them.
Now I know that seems like a lot of instructions for an easy bread, but I wanted to make sure you are armed with all of the information you need before you set out to make this amazing bread. It really is easy. And once you've made it, you'll be making it again and again.
Ways to eat your French Bread:
So now you've made the most amazing bread you ever baked, and you've eaten a few slices with a pat of vegan butter and it's so good, but you're wondering what else can I do with it?
Here are some ideas:
- Serve it alongside a soup or stew, like this delicious Vegan Lamb Stew. Crusty bread and soup -- or stew -- are a match made in heaven.
- Use it for avocado toast. Or better still, pile it high with this Chickpea and Avocado Salad for breakfast.
- Use it as a base for a French Bread Pizza! Cut the bread lengthwise down the middle, place it on a baking sheet, top with marinara and vegan cheese and anything else you'd put on your pizza and bake in a 400 degree oven for about 15 minutes. Yum.
- Use it to make French toast! I even have a great recipe for vegan French Toast for you.
- Make sandwiches.
- Make bruschetta-like appetizers. Cut the bread into slices, grill, then top each slice with vegan basil pesto, tomatoes, and vegan cashew parmesan.
I think I can't wait any more, my mouth's watering with all that delicousness. Come along for the ride and bake this easy French Bread with me. And when you do, be sure to let me know in the comments below, or take a photo and tag me @holycowvegan on Instagram.
Bon appetit!
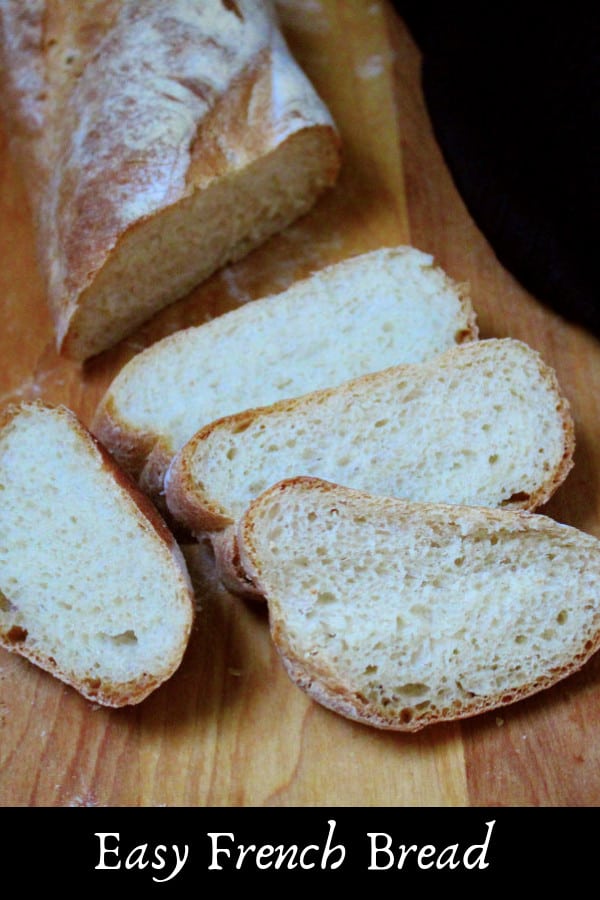
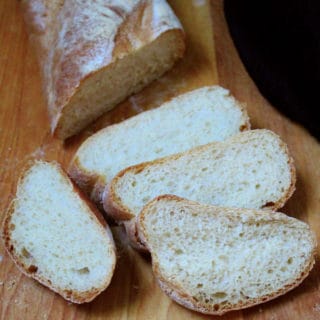
Easy French Bread
Equipment
Ingredients
- 2 ¼ teaspoon active dry yeast
- 1 ½ cup water (lukewarm)
- 1 teaspoon sugar
- 4 cups unbleached all purpose flour (you might not need all of this)
- 1 ½ teaspoon salt
Instructions
- Place the yeast in a large bowl or the bowl of a stand mixer and add the sugar and ½ cup water. The yeast should froth and bubble in five minutes, indicating it's alive.
- Add the remaining water and 2 cups of flour. Mix, and then add the salt. Add 1 ½ cups of flour and continue kneading for five minutes. You want the dough to be just slightly sticky but supple and smooth. If it sticks to the bottom of the bowl in a puddle, add more flour, just a tablespoon at a time, until you get the right consistency.
- Shape the dough into a ball on the countertop. Lightly oil a bowl and place the dough in it, turning over once to coat the top of the dough with some oil. Cover with a kitchen towel or cling wrap and put aside in a warm place to rise for 45 minutes to an hour, or until it has doubled.
- Once the dough has risen, dump it back on the counterop and knead it lightly to deflate for just a few seconds, then divide into two.
- Form each half into a ball. Then, using your fist, punch each ball into a circle about six inches in diameter. Pick up the edge of the circle of dough close to you and start rolling until you form a cylinder. Press the seams in with your fingertips.
- Using the palms of your hand, roll each cylinder into a long rope, about 10-12 inches in length.
- Line a baking sheet with parchment paper or sprinkle it with cornmeal.
- Place the two ropes side by side, with at least 4-5 inches between them, on the baking sheet. Sprinkle on some flour over the tops, using a sieve or a strainer.
- Cover the loaves with a kitchen towel and set them aside to rise for 45 minutes to an hour or until they are very puffy and have doubled in size.
- Preheat the oven to 450 degrees. While the oven is heating up, use a steak knife or a very sharp blade to make three diagonal gashes on each loaf. Make clean cuts and don't saw the bread, or your loaves will deflate.
- Just before you place the bread in the pan, spray the walls of the oven with water.
- Place the baking sheet in the oven and bake 25-30 minutes until the loaves are golden brown.
- Remove the loaves to a rack using mitts and wait until they are thoroughly cool before slicing and eating.
Cathy
Thank you for this awesome recipe!! I made it today and I absolutely love it!!! Can't wait to try your roll recipe...that's next!!!
Jamie
Have you tried this recipe with gluten free flour?
Noe
So I don't have ceramic tiles can I do without?
Vaishali
Yes, just proceed without them.
Kellie Webb
Hi!
How do you store the bread after it's baked? Thanks!
Kellie
Aisling
Hi Vaishali, I am not vegan but recently found your site when my daughter invited a vegan friend for a sleep over. I wanted to make some bread for the morning but most of my go to bread recipes had egg or buttermilk. I tried your French bread and it was a hit and unbelievably easy! I have since cooked tofu for the first time with your blender tofu recipe. .. it was also fantastic.
Thank you for broadening my gastronomic horizons (and hopefully my families too ).
Aisling
Colin
Hi, All your bread recipes look wonderful! The only thing with this recipe is it doesn't appear under your bread category. Also another issue I had with the mobile version of your site was I couldn't see any search box. So the only way I found the this page on my mobile was a Google search. Thanks
Annette
Wow. I did everything wrong and it still turned out the be the best French bread I have ever eaten from anywhere. The bread is soft and the outside is perfectly crusty. I didn't have enough ingredients so I halved everything; I got pulled in several directions and overshot the last rise time by hours and the rise had started to fall; forgot to cut the diagonal lines; and then I forgot to set the timer so I was guessing at how long it had been in the oven. Still: perfect bread. I'm back from the store now with all the ingredients I will need for a long time!
Vaishali Honawar
Hi Annette, you made me smile. Glad it turned out well despite all the errors. 🙂 It is definitely one of my favorite breads.
taj
Just made this an it turned out pretty well! didn't have a baking stone or tile. Need to get one for my next attempt. thanks!!
Vaishali
Hi Taj, so glad you tried it. Thanks for letting me know!
mangomouse
terrific instructions! thank you so much -- i am usually better at flatbreads than risen breads. but this one turned out beautifully! everybody raved when i sliced it up and made vegan garlic bread with homemade vegan 'butter'. !
LoRena Mumaw
Attempt #2 went awesome and tasted amazing! Not sure what was up with my first try. But this will be my go to bread recipe.
Vaishali
That's wonderful -- I knew you could do it! Bread-baking is definitely addictive, isn't it. 🙂 Thanks for letting me know.
LoRena Mumaw
This is my first attempt at home made bread. I added the dry to the wet and only got about 2c flour in before I needed to knead it. I kneaded in another 1/2c but the dough was very dry. I decided not to add any more flour and let it rise. After rising, the dough was tough and gummy. It's on its second rise now. Should I even bother cooking it with how tough it is?
Vaishali
Are you baking in very dry weather? That could explain why you got only 2 cups of flour in. Since this is your first time baking bread, you likely don't have a feel yet for how the dough should look and feel. I don't know what you mean by gummy, especially since you're saying it's also tough, but if the dough rose that is a good sign.
Anonymous
When do you make the gashes? A trivial question, since it's for appearance only, but I tried last time when the loafs were about to go into the oven, and could tell it was going to smash them down too much if I tried then. Should I do it right after I roll both loafs out, before they begin to rise at all? Thanks!
Vaishali
Make the gashes with a very sharp or serrated knife right before you put the loaves in the oven. Use a quick motion to make the cut and don't use a dull knife or sawing motion because you'll deflate the loaves.
Anonymous
Hi how deep do you do the cuts ?
gpapenfuse
Hello!
I have never made bread before and I am now on the second batch of making your bread. Even my Mother in law loved the first batch! 🙂
It was so delicious and easy, thanks so much for the recipe!
Randi
This is excellent! Best french bread I've ever made, thanks!
Vaishali
Randi, that's great. Thanks for letting me know!
Vaishali
Aparna, With 3 1/2 cups of flour and 1 1/2 cups of water you should not get a sticky dough. Did you remember to halve the water when you halved the flour?
You could add more flour to make your dough less sticky, but since your dough has already gone through the rise it could be too late. I'd advise starting over, and next time be really careful about measuring because that's key with bread.
And no, the rise time won't halve if you halve the recipe. It remains the same.
Michelle Evans
I just discovered your blog and am I glad I did! This was my first attempt at making bread (EVER) and it turned out absolutely wonderful! Thank you so much for this recipe and I really look forward to browsing your recipe page and trying some more!
Vaishali
Michelle, congratulations on baking your first bread, and thanks for your kind words. 🙂