

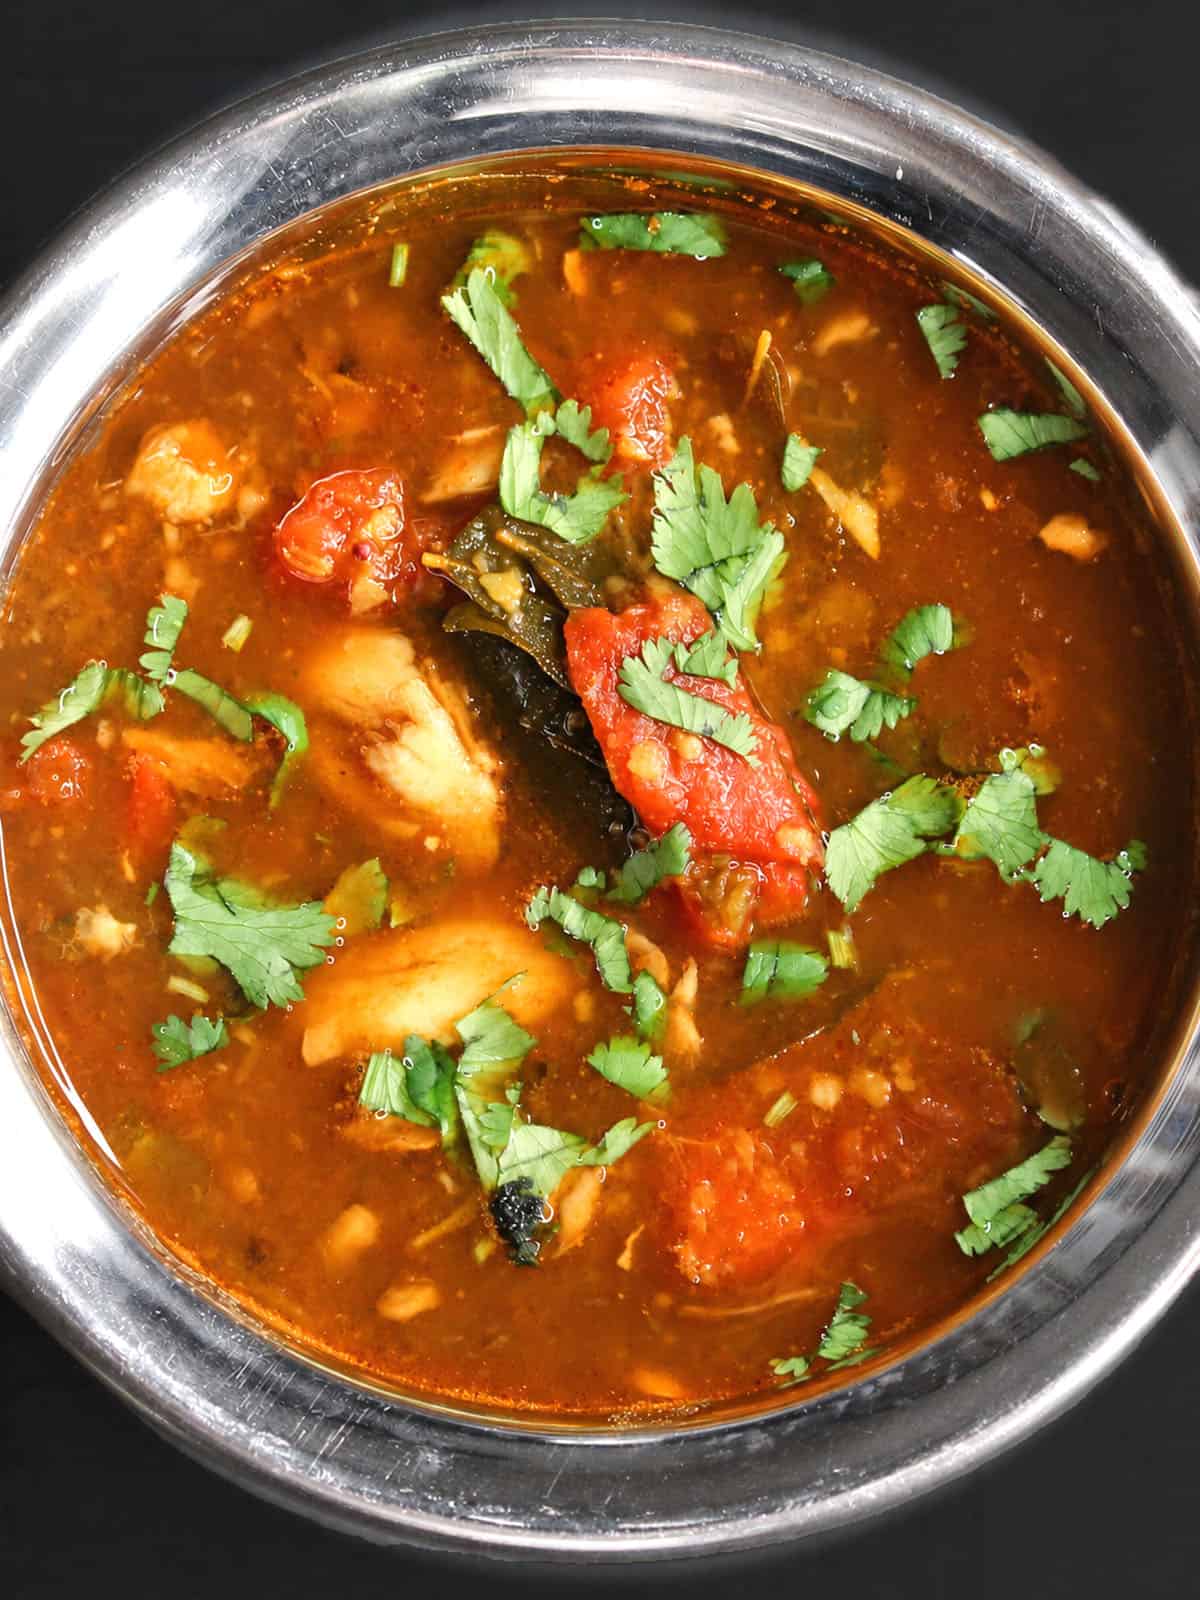
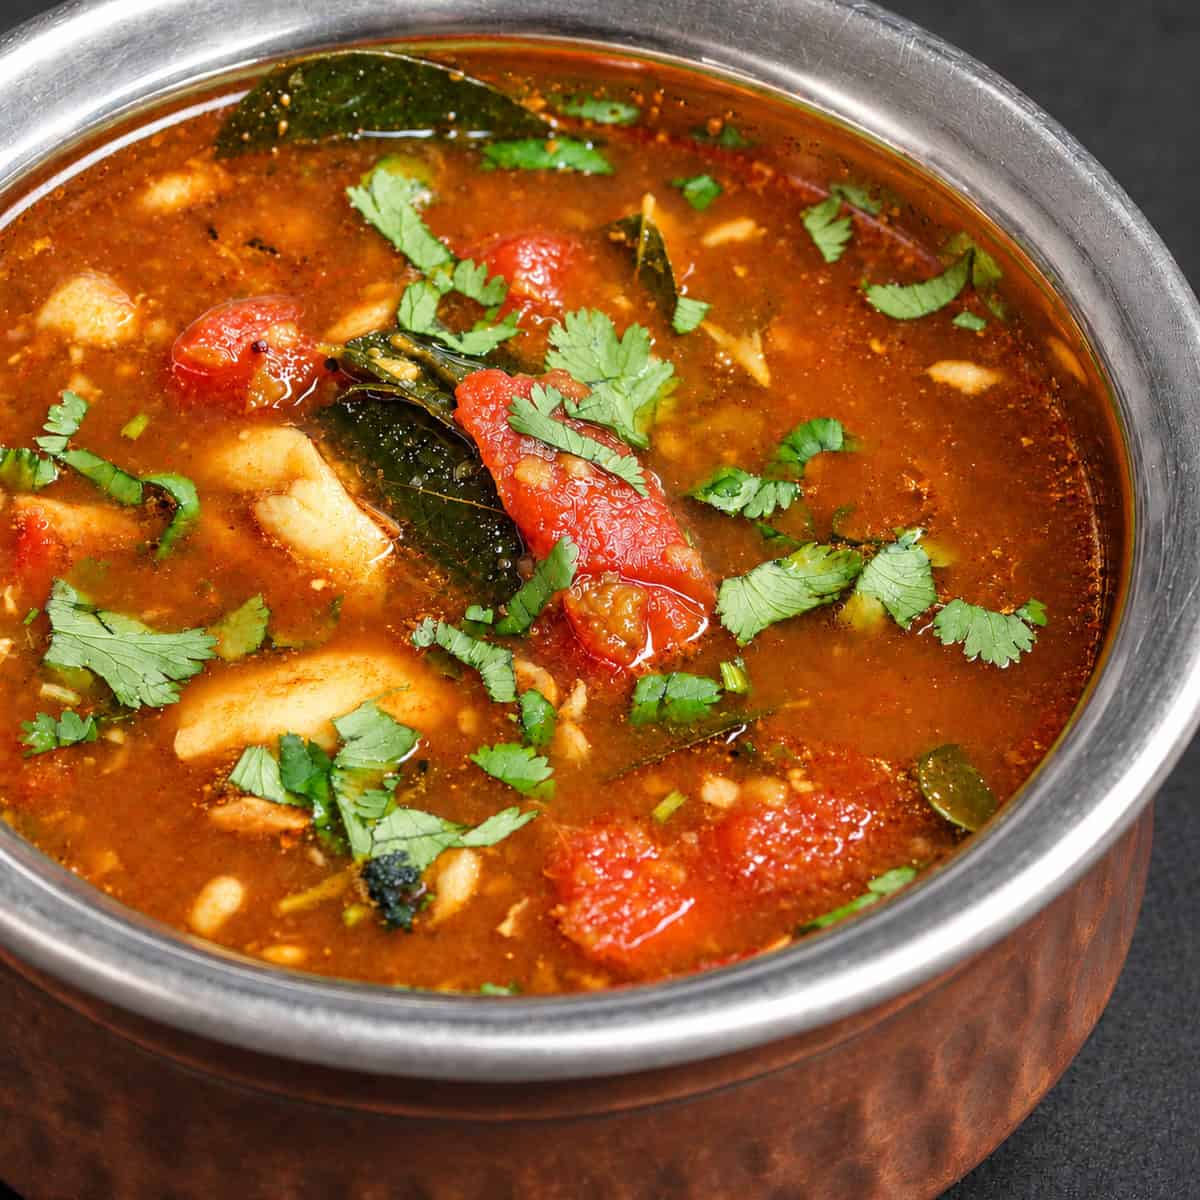
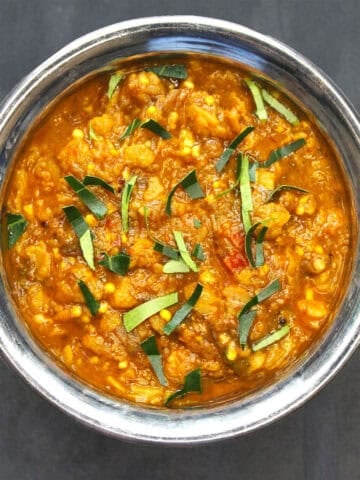
My spicy and aromatic garlic rasam gets its mouthwatering flavor from lots of garlic, ginger, tamarind, tomatoes and homemade rasam powder. It is a delicious, warming, soothing soup you can eat on its own or with a bowl of rice.
Jump To
What is garlic rasam?
Garlic rasam is a tangy, spicy south Indian soup or dal made by simmering the watery portion of cooked dal - its stock - with garlic, tomatoes, tamarind, and a spice blend called rasam powder. In Tamil Nadu, where garlic is called "poondu," it goes by the name of poondu rasam.
In my Tamil in-laws' homes, rasam is almost always made in conjunction with sambar. After toor dal or split pigeon peas are cooked, the cooking water, with lots of flavor from the lentils, rises to the top while the tender lentils settle at the bottom. The stock is skimmed off and used to make rasam and the lentils are added to sambar.
Rasam is believed to be the precursor to mulligatawny soup, adapted by south Indian cooks for the milder British palate during colonial times. But a traditional rasam is simpler yet more complex in flavor. It can be spicy but it doesn't have to be: that is entirely up to you. And there are endless ways you can make it, from a plain rasam with just rasam powder, tamarind and tomatoes, to more specialized versions that use garlic, ginger, black pepper, raw mangoes and neem flowers, among other variations.
We love them all but during the cooler months, garlic rasam is especially in demand in my home. When Desi is coming down with a cold, I know -- even before the first achoo! rings around the house -- that a request for garlic rasam is on the way. I like adding a bit of ginger and lime or lemon to my recipe to give it an added flavor and nutrient boost. That way, I also know it will go down a sore throat like a warm hug.
Why you will love this recipe
Simple recipe
Rasam is one of the simpler south Indian dal recipes to make. It is almost always spiced with rasam powder so you don't have to roast or blend any masala pastes. After the tadka toss the ingredients into a pot in a particular order and then boil it all to death. One of my memories from my mother-in-law's kitchen is rasam bubbling voraciously in an eeya chombu, a special tin pot every Tamilian traditionally used to make rasam.
Madly flavorful
The word "flavorful" gets thrown around so easily to describe food, but one taste of this garlic rasam and you'll be in heaven. It has so much complexity from the tangy tamarind, lime and tomatoes to the spicy ginger, garlic and rasam powder.
Versatile
Traditionally, rasam is served with rice as a second course, after a first course of sambar and rice. Those who aren't hungry still opt to drink the rasam by itself because it is believed to be great for digestion. You can do either of these, or just eat the rasam drizzled over a bowl of rice for dinner. Better still, when it's cold outside, serve it in a soup bowl and slurp it up!
How to make garlic rasam
Reserve stock from cooked lentils
When you cook lentils for sambar or any dal, pour out some of the liquid that has accumulated at the top of the cooked lentils - a cup is enough. You can also reserve a tablespoon or two of the cooked lentils. Store this lentil stock in the refrigerator for up to five days, or freeze for up to three months. Thaw it before use. You can use the reserved lentils in tasty south Indian dals like ash gourd sambar or in a simple Indian dal.
(Many rasam recipes online use only water instead of lentil stock - read more about that in the FAQs below.)
Crush garlic and cumin seeds
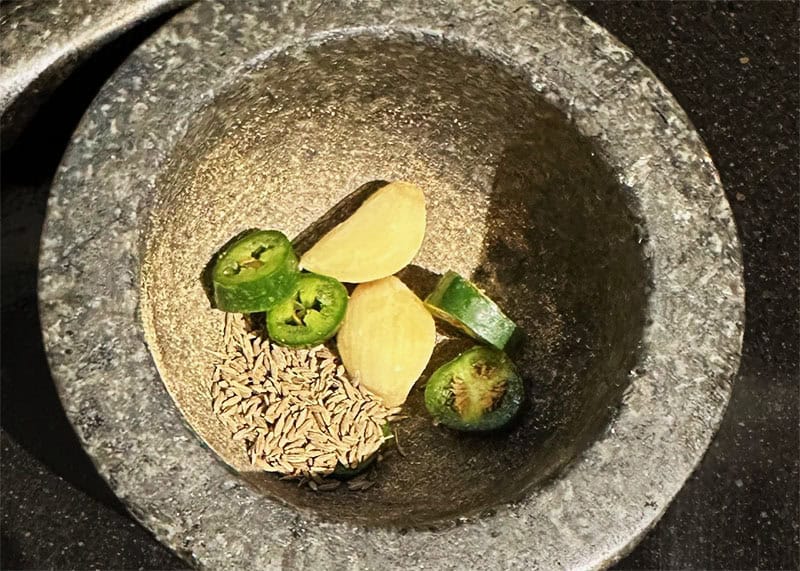
Roughly crush two cloves of garlic, a green chili pepper like jalapeno or serrano pepper, and cumin seeds with a mortar and pestle. This doesn't need to be a fine paste. Adding a couple of crushed garlic cloves to the rasam adds even more delicious, garlicky flavor.
Make the tempering or tadka
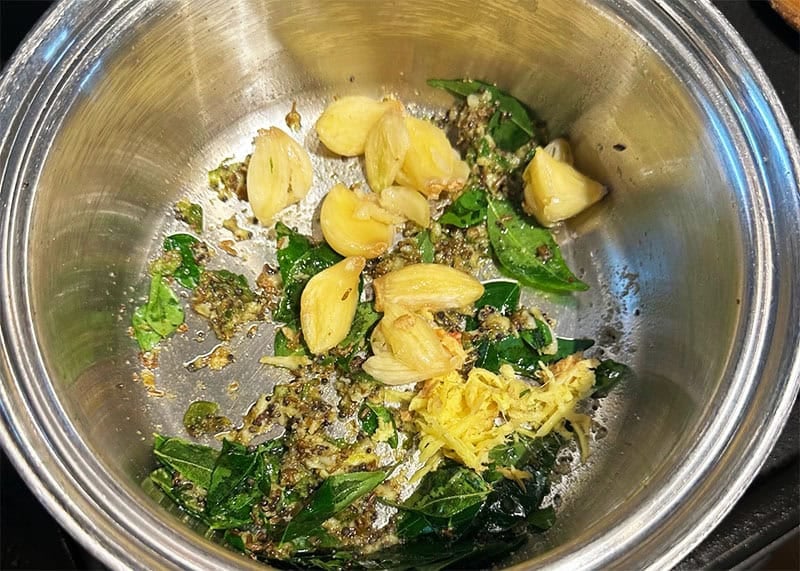
Heat oil in a saucepan over medium-high heat and add mustard seeds. As soon as you hear them pop, stir in the crushed garlic, cumin and green chili paste, six more cloves of garlic, asafetida, ginger and curry leaves. Sauté for 30 seconds. The garlic should begin to just slightly color and should be very aromatic.
Add tomatoes
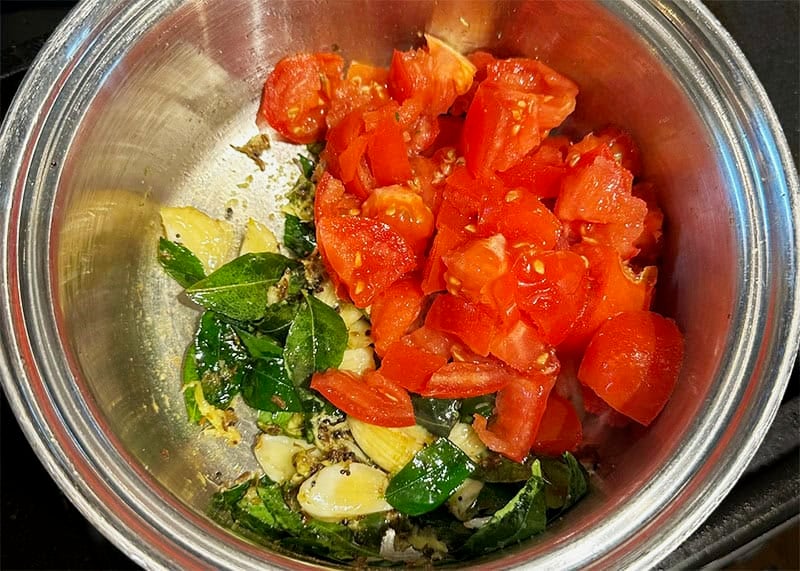
Add roughly chopped tomatoes to the pan. Don't cut these in a very fine dice because you don't want them to just melt into the rasam - they should add some texture to the finished dish. Saute the tomatoes for a couple of minutes.
Add tamarind paste, turmeric and rasam powder
Add a cup of water to the pan along with the tamarind paste and turmeric. Let the liquid come to a boil and continue to simmer it for about five minutes. The tamarind and turmeric will cook during this time and their flavors will meld into the rest of the rasam. Add the rasam powder and mix.
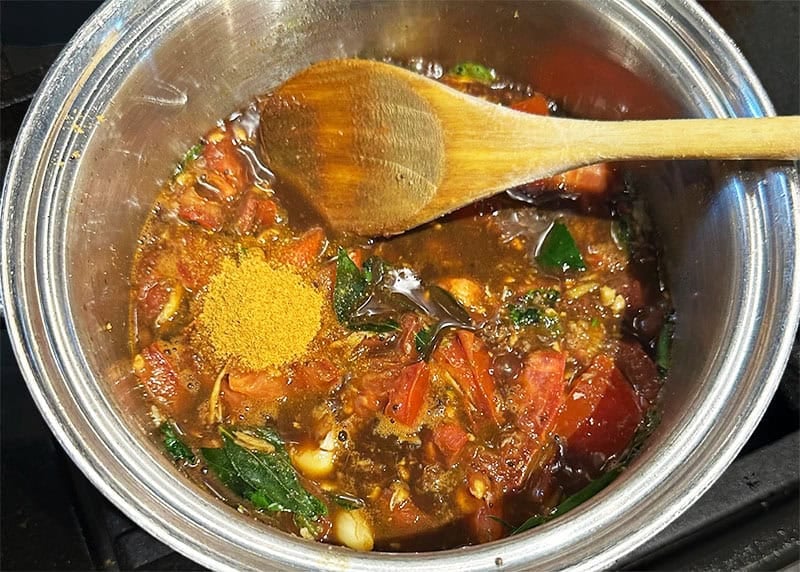
Add lentil stock and finish
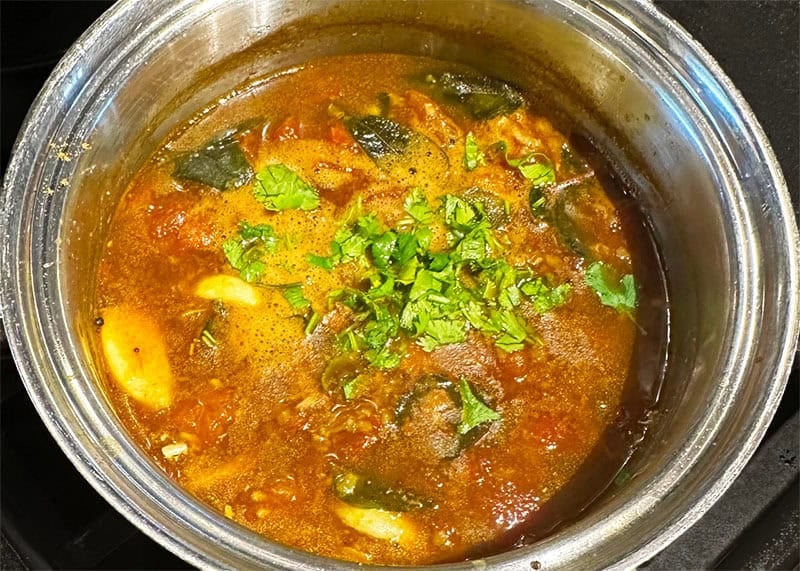
Add the lentil stock you reserved earlier, and another cup of water. The rasam might appear watery but that is exactly how you want it. Let the rasam come to a rolling boil and let it continue to cook for five more minutes at a medium temperature. This gives the ingredients time to blend their flavors together. Some of the water will also evaporate, which is fine. You can always add more water if you like the rasam thinner.
Add lemon juice and salt to taste. I like adding salt after the rasam has cooked to avoid oversalting before some of the liquid evaporates. Turn off the heat and garnish the rasam with cilantro before serving.
More south Indian recipes to try
Recipe card
Garlic Rasam
Equipment you'll need
- Saucepan
Ingredients
For the crushed masala paste
- 2 cloves garlic
- 1 teaspoon cumin seeds
- ½ to 1 green chili pepper (like jalapeno or serrano, cut into rings)
For tadka
- 1 tablespoon oil (use any neutral-flavored oil like avocado oil, sunflower oil, safflower oil or grape seed oil)
- 1 teaspoon mustard seeds
- ¼ teaspoon asafetida (hing)
- Crushed masala paste
- 6 cloves garlic (smashed roughly using the flat side of a chef's knife. You can also smash the garlic lightly in a mortar, but make sure the cloves remain whole)
- 1 tablespoon ginger (grated)
- 2 sprigs curry leaves (about 24 leaves)
- 2 medium tomatoes diced
Other ingredients for garlic rasam
- ¾ tablespoon tamarind paste
- 2 cups water
- 1 cup lentil stock* (with the reserved tablespoon or two of lentils)
- ½ teaspoon turmeric
- 2 heaping teaspoons rasam powder
- 2 tablespoons cilantro (chopped)
- Juice of 1 lemon (or lime)
- Salt to taste
Instructions
Make garlic masala paste
- Crush two cloves of garlic, green chili pepper and cumin seeds in a mortar and pestle until a coarse paste forms.
Make the tadka
- Heat oil in a saucepan over medium-high heat. Add mustard seeds and, when they sputter, add the asafetida, crushed garlic masala paste, the remaining six cloves of garlic, grated ginger and curry leaves. Saute for 30 seconds until the garlic just begins to color.
- Add tomatoes to the pan and saute for a couple of minutes just until they begin to break down.
- Add the tamarind paste and turmeric to the pan along with a cup of water. Bring the water to a boil and let it simmer for another five minutes. Stir in the rasam powder.
- Add the lentil stock and another cup of water and bring the garlic rasam to a rolling boil. Let the rasam continue to boil for another five minutes over medium heat. Don't cover the saucepan.
- Add lemon juice and salt to taste. Turn off heat and garnish the rasam with cilantro. Serve it hot.
Notes
Nutrition Information
Recipe FAQs
Recipes on the internet typically use water to make rasam and it might seem like a simpler addition. But lentil stock is my secret for a superior rasam. The lentil stock adds body to the watery rasam broth and it also adds back to your diet the flavor and nutrients that leach out of the lentils and into the cooking water. Everyone in my Tamil family concedes my rasam tastes so much better.
Yes, use a total of three cups water instead of 1 cup lentil stock + 2 cups water.
Absolutely. You can use stock reserved from cooking toor dal, moong dal, chana dal or masoor dal.
Sure, you can reduce the amount of garlic to as little as two or three cloves (in addition to the two garlic cloves in the crushed paste). I wouldn't go any lower because it is, after all, garlic rasam and you want the garlic to take center-stage.
You can refrigerate garlic rasam up to five days. For longer storage, freeze it for up to three months. Reheat to boiling before you serve it.
Serve garlic rasam over basmati rice or brown rice. It goes particularly well with a potato curry like Bombay potatoes or potato masala.


Hannah says
I'm anxious to try this recipe - it looks amazing! I know this site is about food, but wanted to add my two cents to the flu shot discussion. Both of my son's got the flu shot and both later got the flu. I know it can't protect you from every flu virus, however, I opted out of the flu shot (offered free at work) and did not get sick even while caring for my sick kids. I talked to several co-workers who have had similar experiences. The way I see it, it's just another way for pharmaceutical companies to make a lot of money off of people who follow the advice of well-meaning doctors, who base their advice on falsified data from pharmaceutical companies. Just follow the money to get to the root of most problems. Luckily truth usually finds a voice sooner or later.
Lani says
Hi Vaishali,
I made the delicious soup but it made so little. Is there a mistake in the recipe as there is no extra liquid added except for 1cup of water. This is supposed to serve 8 people??
Vaishali says
Hi Lani, you need to add water to thin it out. Sorry if the recipe wasn't clear, I'll take a look and clarify now. Glad you liked it otherwise.
Vaishali says
Hi Lani, I checked and the recipe does include instructions on adding more water as the rasam thickens. You should add enough to get a watery consistency.
Ruth Eisenbud says
I am a believer in the healing power of rasam.... I was coming down with a cold, but have managed to avoid it with this delicious, vibrant soup...
I am not so convinced about flu vaccinations... Given no major health issues.... it is preferable to let the immune system fight off the flu and colds. That strengthens the immune system.... Like a muscle which is not used, the immune system can atrophy, if not allowed to function due to too many vaccines....
I have a story similar to the one you tell about getting ill after a flu shot.... They were giving free, optional flu vaccines at work. I opted out. A friend who strongly urged me to get the vaccine and got it herself, promptly came down with the flu. I managed not too.
Jean Horrall says
LOOKS AMAZING.
Vaishali says
Thanks, Jean! 🙂
shan says
Thanks for the recipe. Looks so delicious. Is it possible to cook everything in one pot instead of cooking dal separately?
I was also reluctant to get flu vaccines until a loved one became afflicted with an autoimmune disease. I do so now to protect her more than myself.
Vaishali says
Hi Shan, you can certainly cook the dal in the saucepan first and then use the same saucepan for the rest of the recipe, but you will need to move the dal to another container until you are done with the remaining steps. So strictly not a one-pot meal, but since there's no fat in the dal, you can just rinse out the bowl or tupperware you use to hold it. 🙂 You cannot cook the dal with the remaining ingredients already in because they would overcook.
Leslie says
Vaishali, I am an RN and I have given hundreds of flu vaccines over the years. A flu shot contains killed virus, not live virus, and can therefore never ever give you the flu. However, if you have already been exposed to a virus of any kind, and it is incubating within your body, a flu shot (or any other vaccine) will not help you. If you get sick shortly after getting a flu shot, you were going to get sick anyway, with whatever virus you had been exposed to. And flu shots won't help avoid illness with any other viruses, at any time. That said, I am all for using homeopathic and nutritional "medicine" to help you feel better and stay healthy!
Vaishali says
Hi Leslie, that's good to know, and from an RN--thanks for sharing! Perhaps, like you say, I'd already caught a bug. Anyway, this homemade remedy definitely helped. 🙂