

This recipe for authentic south Indian dosa with a fermented, homemade batter has been in my Tamil family for generations and it makes the best dosas! Step-by-step video included.
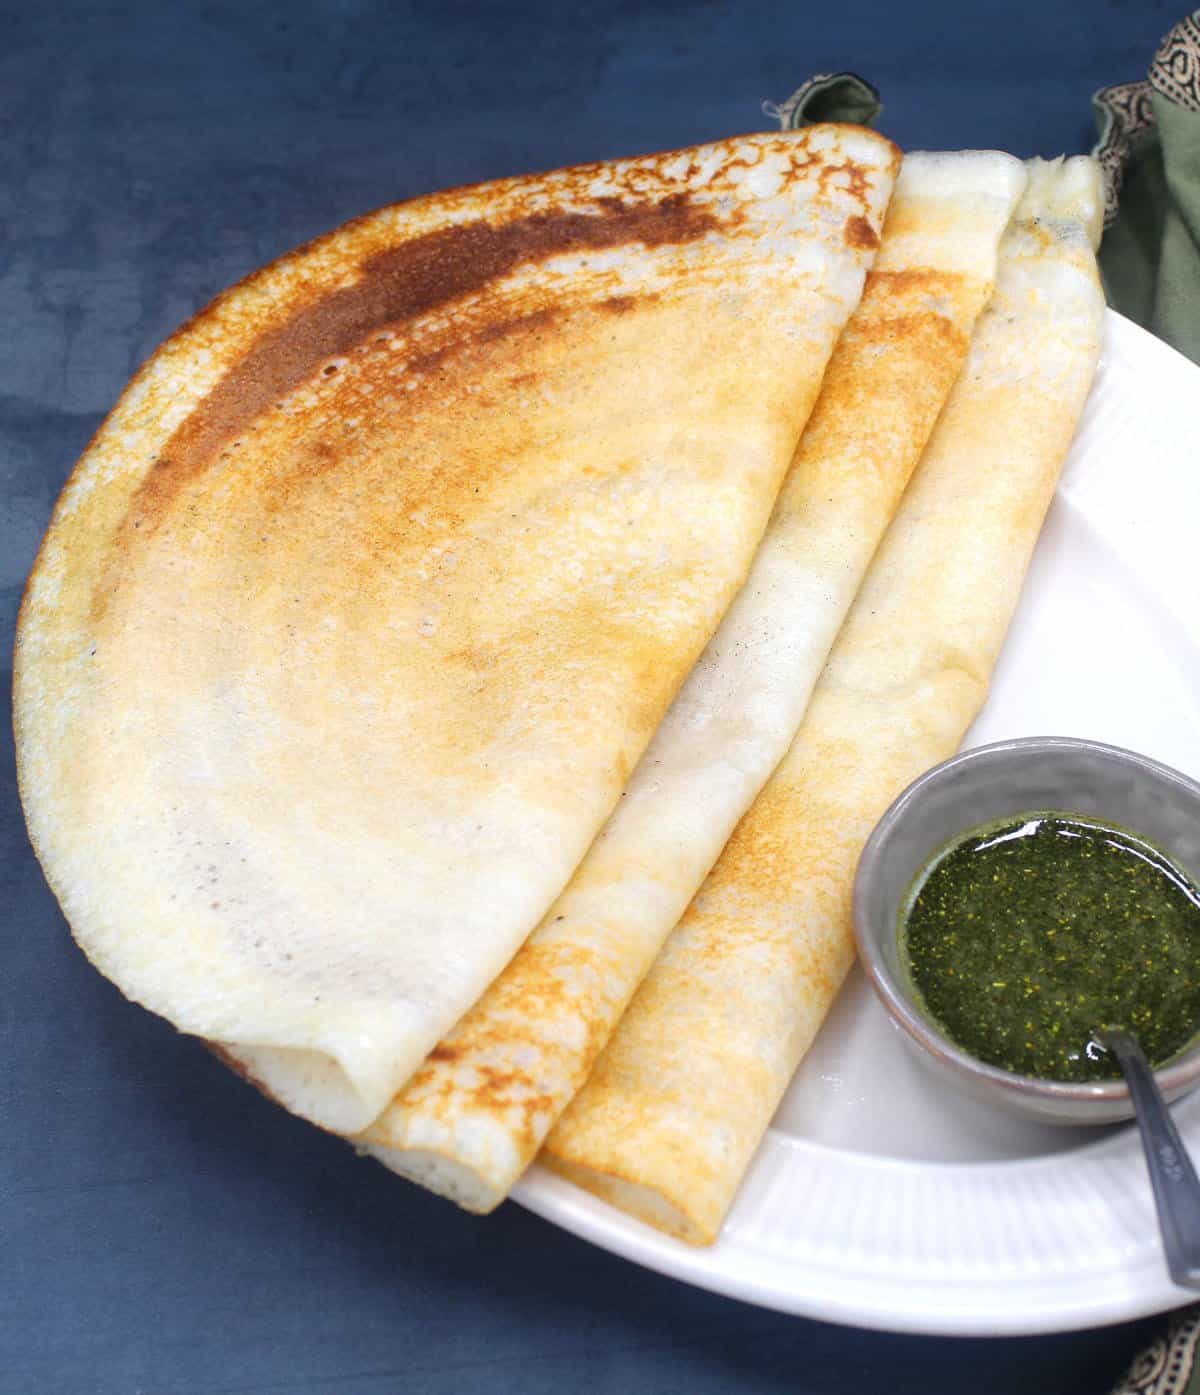
Table of Contents
Authentic dosa recipe with a no-fuss batter
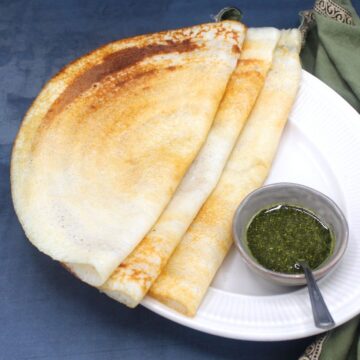
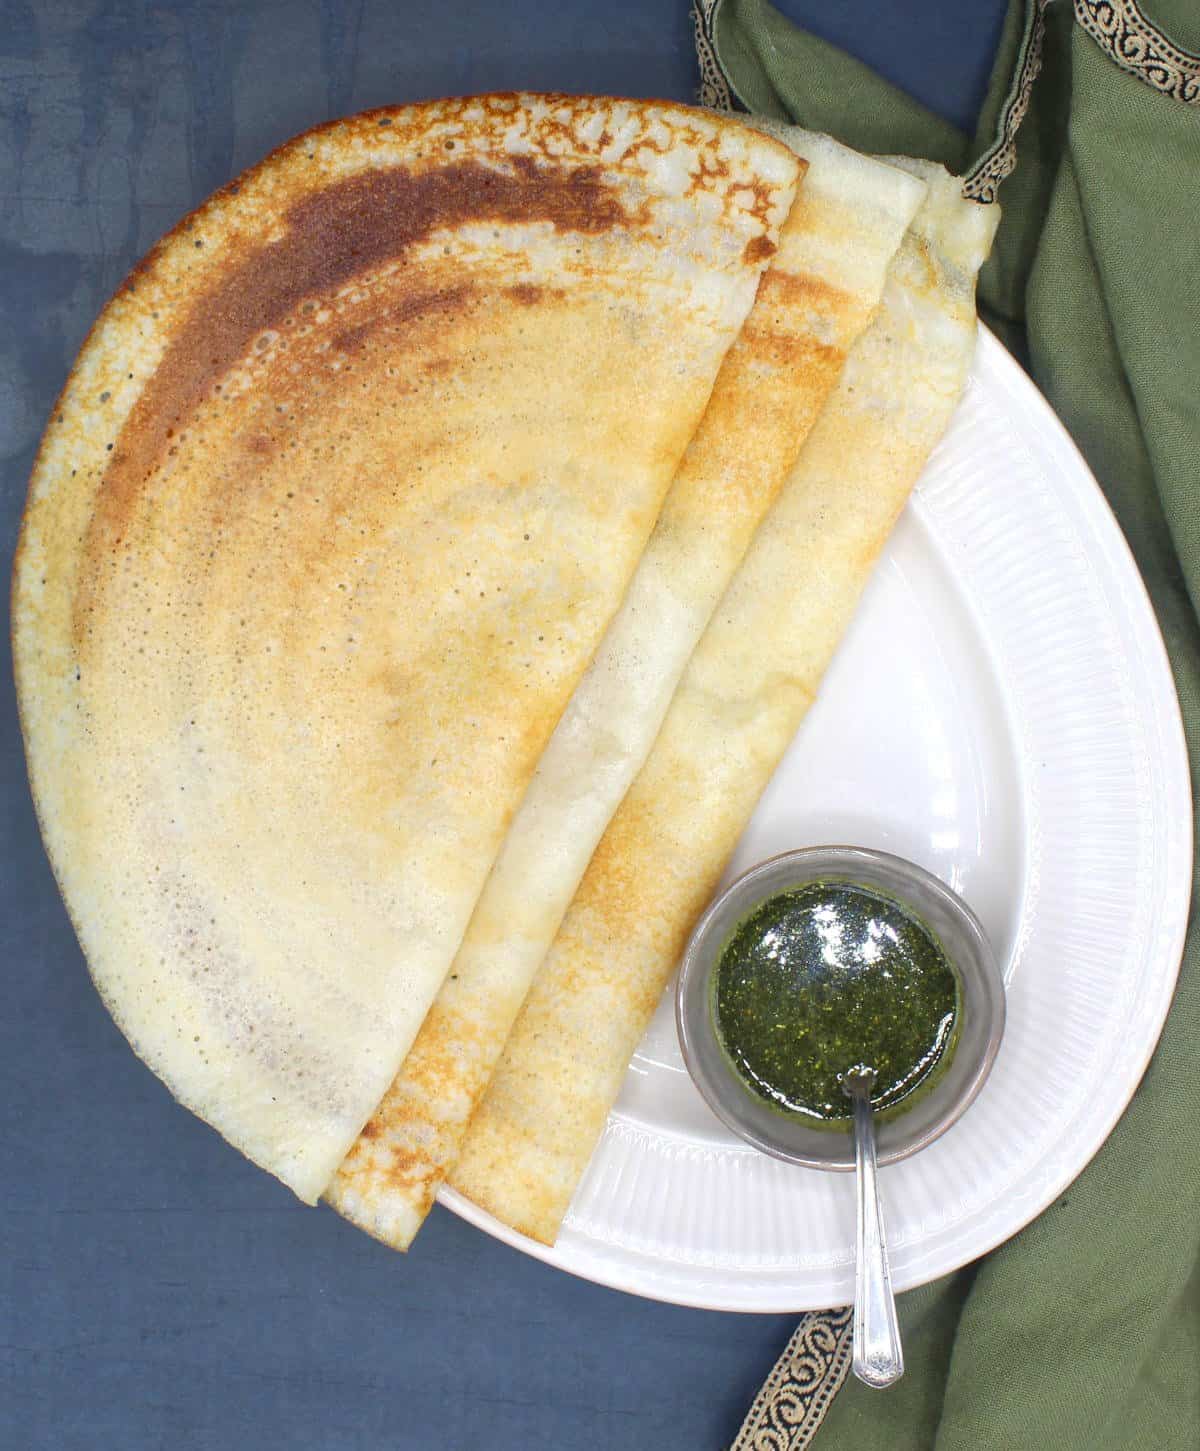
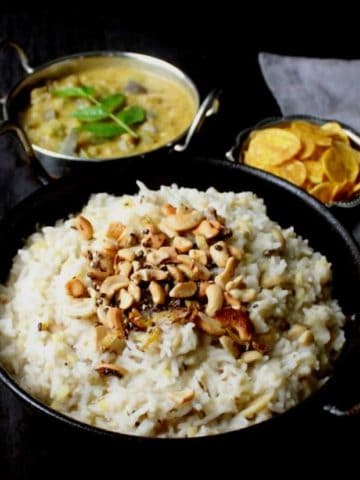
If you love south Indian food, especially breakfast or snack foods called "tiffin", you likely love dosa, that crispy rice and lentil crepe that arrives at your restaurant table spilling over the sides of a plate. It is typically served with bowls of sambar and coconut chutney.
I have many versions of dosa (called "dosai" in south India) on the blog, including instant masala dosa, quinoa dosa and sorghum or jowar dosa. But sharing my authentic dosa recipe with you -- the kind that all of these other versions spun off from, has been on my to-do list for a while now.
There are many good reasons to make dosas - like the other famous south Indian food, idli, dosa is loaded with plant protein and gut-friendly bacteria. It is gentle on the stomach and is traditionally vegan as well as gluten-free, soy-free and nut-free, so you can feed it to just about anyone. The batter is easy and made with pantry ingredients and I'll tell you exactly how to ferment it so it is even healthier.
The only obstacle you might encounter if you are new to making dosa is the process of spreading the dosa batter into a circle on the hot griddle - this takes practice and no one gets it right the first time, but you will get better. Be sure to watch the video to see exactly how to do this. Meanwhile those misshapen dosas will still taste delicious!
This dosa recipe has been in the family of my Tamil husband, Desi, for generations, and it comes to me via my sis-in-law and amazing cook Padmavathy Raghavan - Paddu. It is so good that I, despite my love for tinkering with recipes, have never veered from it. I'm so excited to share it with you!
Watch how to make dosa
Recipe card
Dosa Recipe
Video
Ingredients
- 2 cups rice (I used white basmati rice. See notes on what types of rice to use.)
- ½ cup poha (flattened rice)
- ½ cup urad dal (black gram dal)
- 2 tablespoons chana dal (Bengal gram dal)
- ½ teaspoon fenugreek seeds (methi seeds)
- 1½ cups water
- Salt to taste (Not necessary, but you can add it if you like. Add the salt after fermentation as it can inhibit the growth of friendly bacteria).
- Vegetable oil or cooking spray for sprinkling around edges of dosa
Instructions
- Mix all the ingredients for the dosa in a large bowl. Pour enough water to cover by 2-3 inches. Cover and set aside to soak for 8 hours.
- After the ingredients have soaked strain them. Place them in a blender with a cup of water--I like to break this up in batches, so I do half the ingredients at a time with half a cup of water each.
- Blend the batter for 30 seconds, preferably in a high-powered blender, then continue blending in 10-second spurts until you reach the desired consistency. The batter should feel very smooth but you should feel a tiny amount of grittiness from the rice when you rub it between your fingers. This will result in crispy dosas.
- The batter should be thick but pourable. If you find that it's too thick add the remaining half cup of water slowly.
- Return the batter to the bowl and cover it. Now place it in a warm place to ferment for at least 8 hours or overnight. See notes for more guidance on how to do this.
- The fermented batter will be puffy. Stir it a few times to deflate the puffiness so you can shape the dosas more easily.
- Heat a griddle to the point where drops of water sprinkled on it sizzle and evaporate within five seconds. Do not oil the griddle.
- Pour a ladleful of the batter in the center of the griddle. Quickly, moving outward in a spiral fashion, spread the dosa using the bottom of the ladle. A rounded ladle works best for this.
- Sprinkle a few drops of oil around the edges of the dosa. You can also spray cooking spray around the edges but turn down the heat while you do this so you don't get the spray directly on the gas flame.
- Once the dosa edges look lacy and golden-brown and the top has dried out completely loosen the dosa from the griddle gently with a flat spatula and remove to a plate.
- Serve hot.
Notes
- Traditionally Tamilians use short-grain or medium-grain rice or parboiled rice to make dosa. Different varieties of rice result in very minor differences in texture and flavor in a dosa and, to me, that's not worth keeping one more variety of rice in my pantry, so I just use basmati rice -- brown, light brown or white. Sona masoori rice works too.
- Poha is flattened rice, and it gives a lovely, silky texture to the dosa. You can skip it but I recommend looking for it online or in Indian stores. I've included an affiliate link above.
Nutrition Information
To print recipe card without images, uncheck "instruction images" after clicking the "print recipe" button.
Recipe FAQs
In addition to a large bowl for soaking the rice and lentils and later fermenting the batter, you will need a high-powered blender to blend the batter and a large, flat griddle to make dosas. A 10-inch griddle is perfect. You will also need a ladle with a rounded bottom, like a soup ladle, to help shape the dosas to perfection.
You don't have to soak the rice and lentils separately, as you would for idli batter. Plan on soaking the ingredients at least 16 hours before making dosas - I typically soak them in the morning, blend up the dosa batter in the evening, and leave it to ferment overnight so I can make fresh dosas next morning. Always drain out the water you soaked the rice and lentils in and add fresh water to blend the batter.
I need just under a cup and a half of water to blend this quantity of rice and lentils. Start with a cup and add more as needed.
Blend in two batches so you don't overwhelm the blender, and also blend in short bursts -- 30 seconds at first and then short bursts of 10 seconds. You want a smooth batter of a consistency halfway between crepe batter and pancake batter. When you rub the batter between your thumb and forefinger it should feel very slightly gritty.
Let the dosa batter stand overnight or for at least 8 hours in a warm spot - it's fermented when it puffs up and becomes bubbly. In cooler climates place the dosa in an unheated oven with the light on or wrap it in a heating pad. Use a large bowl and slide a plate under the bowl in case the batter overflows (like sourdough). You can also use an Instant Pot - just place the batter in the IP liner and set to the yogurt function for 12 hours. Stir the fermented batter to deflate it before you make dosa. Fermenting dosa batter gives the dosa both flavor and a softer texture.
Heat a well-seasoned cast iron griddle or a non-stick griddle over high heat. Don't oil it at this time as you will not be able to spread the dosa batter easily on an oiled griddle. When the griddle is hot enough that water sprinkled on it sizzles and then evaporates completely in five seconds, pour a ladleful of batter (about half a cup) in the center. Working quickly from the center, move the ladle outward in a circular motion (watch the video to see exactly how to do this). Sprinkle a few drops of oil around the dosa edges to make it crispy - you can also use cooking spray but do this carefully on a gas stove so you don't spray directly on the flame. When the dosa edges look lacy and golden, and the top has dried out, loosen it gently from the griddle with a flat spatula. Fold the dosa in half and remove to a plate.
Dosas should be eaten hot off the griddle - they do not retain their texture over time and can become rubbery. If you don't use all the batter just store it in the fridge for up to four days and make fresh dosas when you are ready to eat.
Fermented dosa batter can be stored in the freezer in an airtight container for up to three months. Thaw at room temperature or in the refrigerator before making dosa.
Serve the dosa with sambar, a south Indian style vegetable dal, and/or coconut chutney.
Add a potato stuffing, like this potato masala or Bombay potatoes, to turn this sada dosa (plain dosa) into a masala dosa. Place the stuffing in the center and fold the dosa over it to serve.
You can also serve dosa with karuveppilai podi mixed in a bit of oil. This is a powder mix made with curry leaves and spices. You can make it ahead and it goes beautifully with both idli and dosa.


Vaishnavi says
Hello Vaishali ji,
I made dosa using your recipe proportions, and I must say it’s wonderful. I have tried many different ratios, but none were up to your recipe. The dosas are both soft and crisp, which is usually almost impossible to achieve.
The texture stayed soft even after several hours. This shows your attention to detail in recipe curating.
Thank you once again!
Suzanne Andrews says
Absolutely perfect. Since learning how to make them I haven't stopped. My mum (the biggest food critic) asks for a batch (of batter) every week. She and we all love them. Thank you so much Vaishali❣️ So easy to make and the first time they have worked out for me. I make up a large batch of batter and freeze the portions in my silicone cupcake moulds. Enough batter for one dosai per "cupcake". I am so terribly impatient I started putting the frozen batter straight onto the griddle and moving it around (in a circle) to defrost and distribute evenly on the griddle (and following your cooking instructions). So surprised to find that it comes out as a perfect crispy dosai like at the restaurant. Thank you thank you!
Sambar Cafe says
Comprehensive and methodical breakdown of each step.
Sally Reed says
Hi Viashali! I just finished making dosa following your recipe exactly. They were fantastic! I was a bit afraid of tackling this but was more about time than complexity...in other words, fairly easy. I did stuff them with bombay potatoes and used your recipe for chana saag which we love. I feel so accomplished...and full!!
Vaishali says
Yay!! Well done. Dosa can definitely be a difficult recipe to master and there's a learning curve, but sounds like you did amazingly! Bombay potatoes would be great with the dosa, so well done on that as well. ❤️For a more traditional stuffing, you can try my Potato Masala recipe.
Sally says
Dopey question here: do rice and dal need to be cooked for this recipe? Can't wait to try it! I love all your recipes 😋
Vaishali says
No, they should not be cooked, just soaked in water.
Donna S says
Turned out perfect!!! Thank you!!
Vaishali says
Yay!!
denene says
karuveppilai podi
yes please
Jessica says
Hi, Valshali,
I don't own a griddle. Can the dosas be cooked in a ceramic dutch oven?
Vaishali says
Hi Jessica, if it’s wide with short sides it should be okay. A pot that is deep would steam the dosa rather than fry it.
Leni says
This recipe was in my mailbox this morning, and after reading this it and watching the video, I went straight to my larder and measured everything out. Can't wait for the next step. I had all the rices mentioned, but I also had short grain rice on hand (used for sushi), which I used. Curious to see how this works out!
Vaishali says
Hi Leni, so awesome you are trying it! I haven't made dosa with sushi rice before and it would be interesting to hear how the sticky texture of sushi rice performs in dosa. Let me know how it goes.
Leni says
Reporting back... The dosa batter fermented very nicely, and the dosas I made were tender and a bit chewy, and had a good flavor. I am looking forward to trying this recipe with the other rices and quinoa! It was so easy to make and I used a blender.
Vaishali says
Hi Leni, awesome to hear of your success--so happy you made them. Thanks for the feedback on the sushi rice. Sounds like the sticky, glutinous quality of the sushi rice created chewier dosas.
Kathleen Saraswati says
Amazing! I was doing an internet search on how to make dosa, hoping for a step-by-step approach and video. As I was searching, a notice came on my screen for this recipe! My husband and I make dosa from store-bought batter. I look forward to making my own from this recipe. Such great timing!
Vaishali says
Hi Kathleen, what an amazing coincidence! It must've been written in the stars. 🙂 Would love to hear if you try the recipe.
Karyn says
I can’t wait to try this version! We love the quinoa dosa, even when the batter gets quite tangy.
Vaishali says
Awesome! Let me know how it goes.