

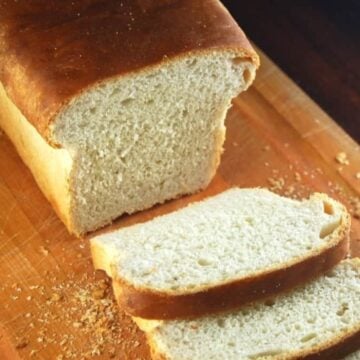
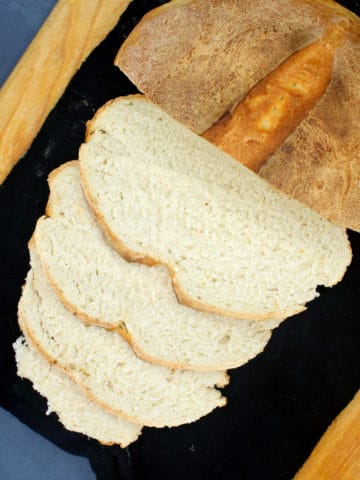
Every home baker needs a foolproof recipe for soft, fluffy sourdough sandwich bread and here's one that will reward you with amazing bread each time. My easy sourdough sandwich loaf recipe doesn't need any added yeast; it uses an active, bubbling sourdough starter to create buttery, tangy flavor and a light, airy crumb. It slices beautifully too!

A fantastic same-day sourdough sandwich bread
Many sourdough breads need to be started the night before, but this sourdough sandwich loaf can easily be made in about eight hours from start to finish. So if you start the bread in the morning, you can have it baked and ready in time for dinner.
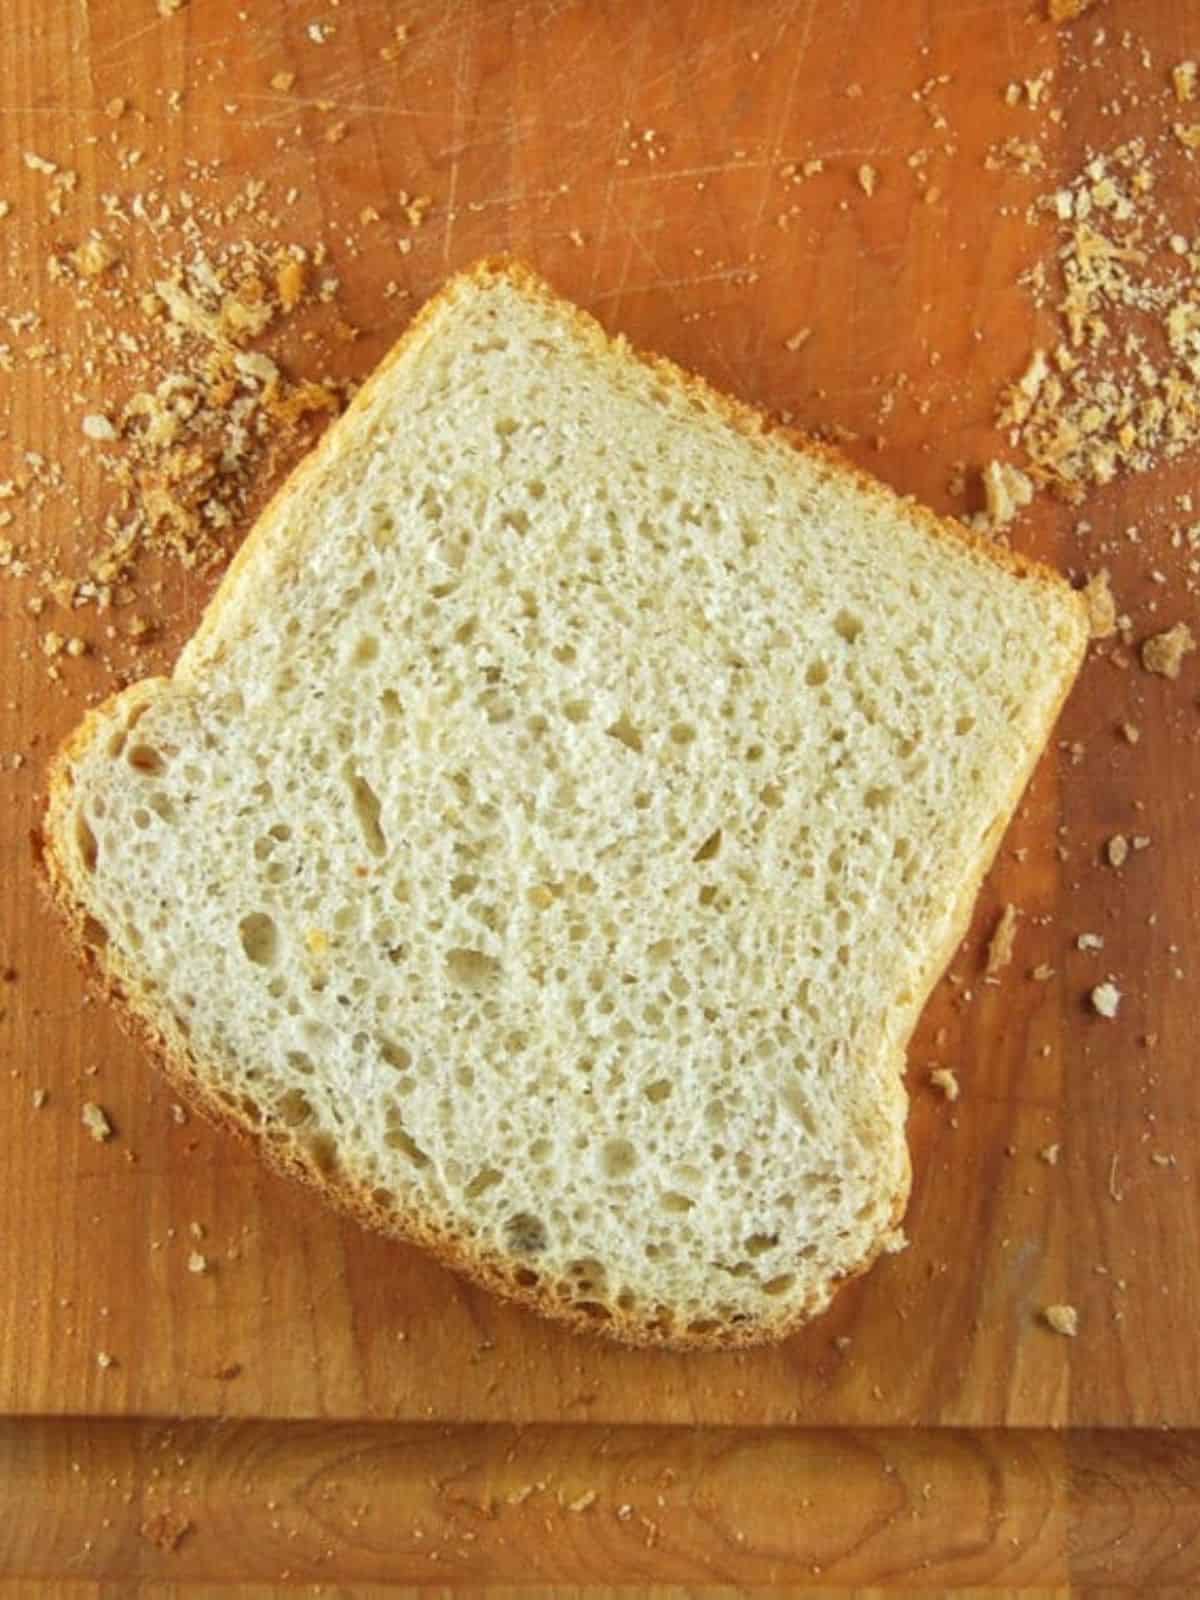
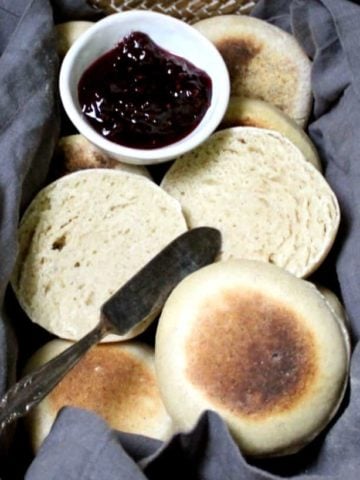
The recipe makes two sandwich loaves, which last us all week long. I use it to make all of my sandwiches even more delicious, and it's wonderful with peanut butter and jelly. You can even dunk it into soups and stews! But my hands-down favorite way to eat it is to toast it lightly - especially when it's a couple of days old - and slather it with vegan butter.
This recipe uses mostly white flour but I don't feel too bad about that because research shows that sourdough-based baked goods - even white sourdough bread - are healthier. Sourdough starter is full of healthy bacteria that are probiotic and extremely beneficial to the gut microbiome. These bacteria help partially break down gluten in the dough and make the bread easier to digest (they also improve the texture of the crumb, rewarding you with that soft sourdough bread you love).
Sourdough bread also has a lower glycemic index, which means it releases glucose into the blood more slowly. This recipe is vegan so it uses no eggs or milk, and consequently has no cholesterol and no natural sugars.
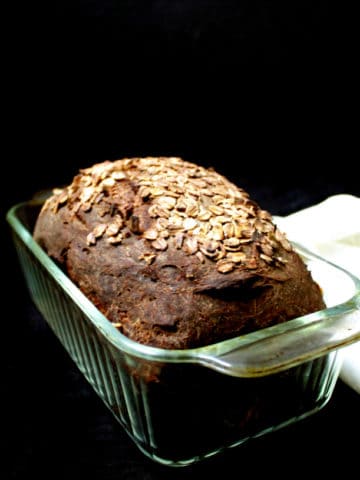
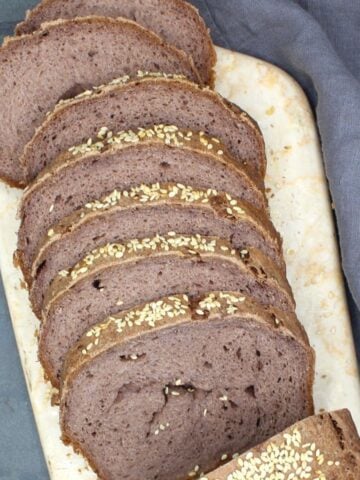
Even if all of that doesn't sway you, don't you know at least that one person who refuses to eat wholegrain bread? This bread would be perfect for them! If you still prefer a wholegrain version, I have a fantastic whole wheat sourdough sandwich bread recipe on the blog.
Sample schedule for baking sourdough sandwich bread
This is the timetable I follow when I make this sandwich bread for dinner:
- 8 a.m.: Make the first starter and set it aside to rise four hours.
- 12 noon: Make the dough and let it rise two hours.
- 2:30 p.m.: Shape the loaves and set aside to rise two more hours.
- 4: 45 p.m.: Bake bread for 40 minutes. Cool on wire rack before serving.
I made this bread a few weeks ago and it's AMAZING. Super easy and just perfect. I have made SD sandwich bread a few times and this is by far the best! Thank you!!!
- Ryan
Recipe card
Sourdough Sandwich Bread Recipe
Ingredients
- 1½ cups sourdough starter (bubbling and active)
- 1½ cups lukewarm water
- 1 cup whole wheat flour
- 4-5 cups unbleached all purpose flour
- 1 tablespoon extra virgin olive oil (or any neutral oil of your choice)
- 1 teaspoon sea salt (or any salt of your choice)
Instructions
First starter and rise
- Place the sourdough starter in a large bowl or the bowl of a stand mixer. Add to it the wholewheat flour, 1 cup of all-purpose flour, and water. Mix well and set it aside, covered, in a warm place for four hours.

- After four hours the starter should be quite fluffy and bubbly.

Make sourdough sandwich bread dough
- Add 2 cups of all-purpose flour, olive oil and salt and mix. Add more flour as you knead until the dough becomes quite firm but still feels a little sticky to your fingers. You can do this by hand or in the stand mixer, using the dough hook attachment, on medium-low speed.

- Turn out the dough on the kitchen platform or any flat surface and knead by hand for 4-5 minutes or until the dough feels smooth and springy to your fingers and barely sticks to the platform.

Second rise
- Shape into a ball and place in an oiled bowl, turning the ball of dough around once to coat the top with oil. Cover tightly and place in a warm spot (like an oven with the light turned on) for at least two hours or until the dough has doubled.

Shape loaves
- Punch down the dough and divide into two. Roll out each half into a rectangle, about seven by 10 inches, and roll it up like a jelly roll. With the seam side down, tuck in the ends to form a loaf.

Third rise
- Prepare two loaf pans by spraying or brushing lightly with oil and then sprinkling on some cornmeal or semolina on the bottom and sides. Place the loaves into the prepared loaf pans.

- Cover the loaves with a kitchen towel and let them stand in a warm place for at least two more hours or until the dough domes above the top of the loaf pans.

Bake bread
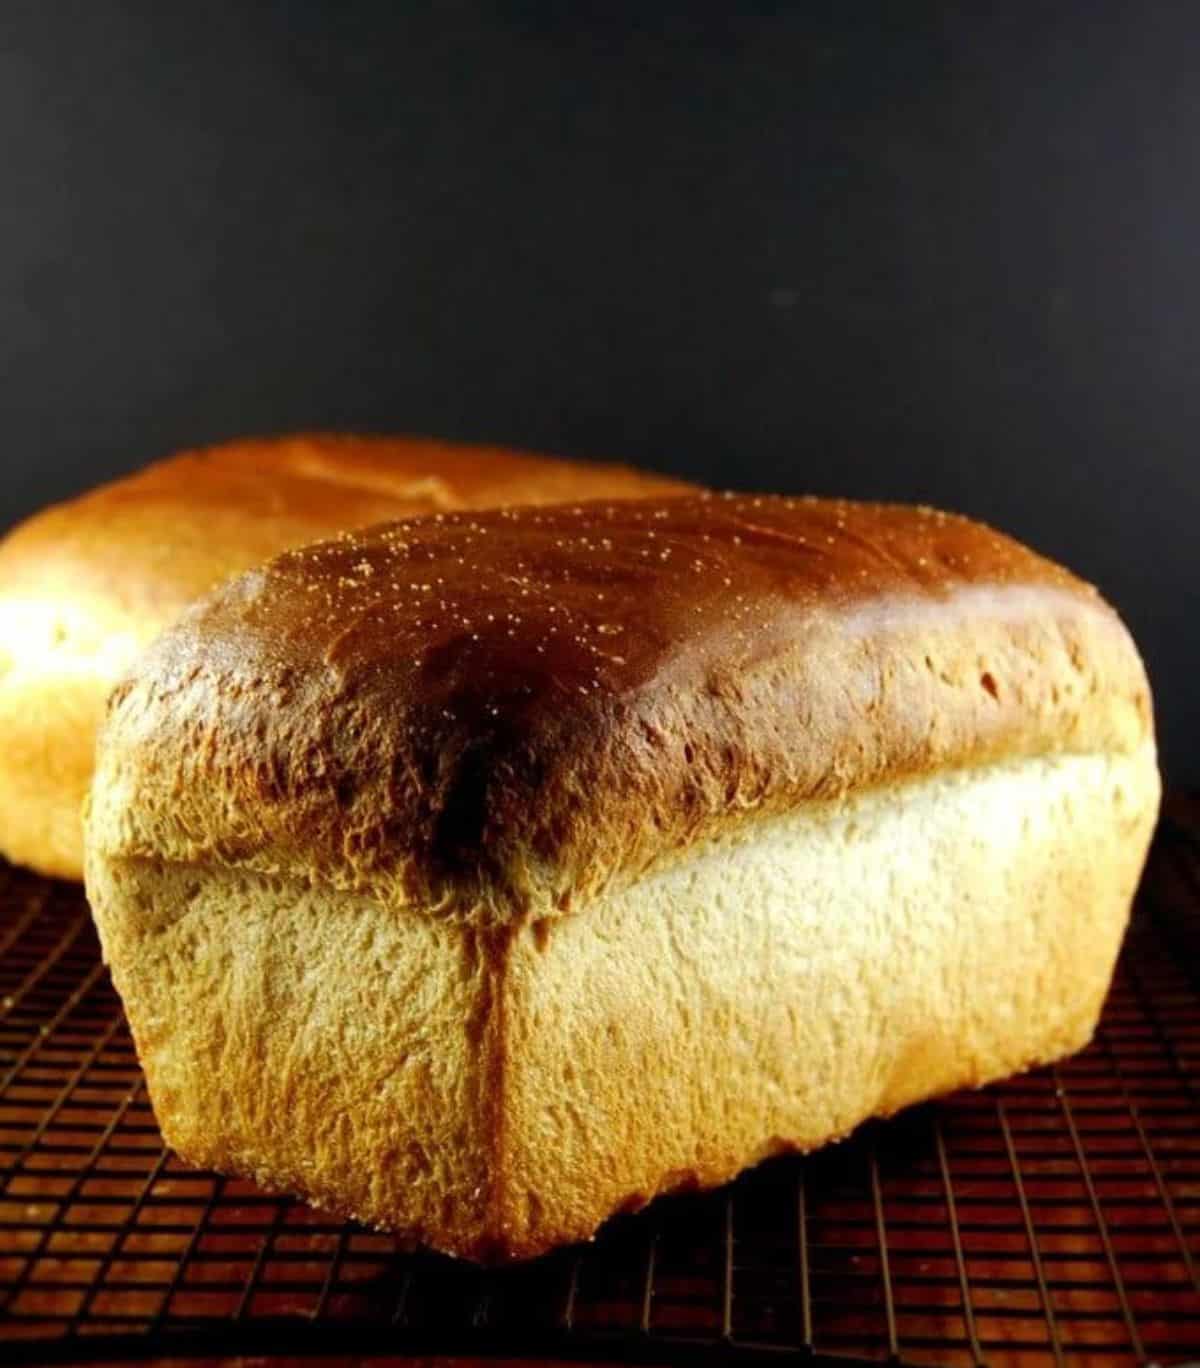
- About half an hour before baking, preheat the oven to 425 degrees Fahrenheit/220 degrees Celsius. Place the loaves in the oven and bake 40 minutes. Remove the loaves from the oven, turn them out on a rack, and let them cool thoroughly before slicing.

Notes
- Increase salt by up to one teaspoon if you like a saltier loaf.
- For a gluten-free version, try my gluten-free sourdough sandwich bread.
- Refrigerate: The bread can be stored at room temperature for four days and in the refrigerator for up to two weeks.
- Freeze: Freeze the bread for up to three months in a freezer-safe bag, whole or sliced.
Nutrition Information
To print recipe card without images, uncheck "instruction images" after clicking the "print recipe" button.
Top tip
The hydration of your sourdough starter and the weather where you live can change how much water you need for the recipe. If you find that adding two cups of water results in a very sticky dough, reduce the amount of water next time to 1 cup and, if you need it, trickle in the remaining water while kneading the dough.
Sourdough sandwich bread FAQs
Yes, just halve the amount of ingredients and you are all set!
The culprit here is your sourdough starter. If it is not active and fed recently (as in eight hours to 24 hours before use) you simply won't have enough natural yeast in the starter for the dough to rise.
To create a softer crust for the sourdough sandwich bread, replace half the water with soy milk.
Bread flour will give you a slightly crustier loaf. Use it if you like a crustier bread, it will be fantastic.
If you have some experience baking bread, but are new to sourdough baking, you should have no trouble making this easy sourdough sandwich bread. If you are new to both bread making and sourdough bread making, you might have a learning curve.
You can use sourdough discard but make sure it's no more than two to three days old and comes from a very active, bubbly sourdough starter. I did use sourdough discard in the past for this recipe, but I find an active starter gives a better rise and therefore a fluffier loaf.
This happens to me too, especially when I get busy and don't knead the dough long enough or let the loaves proof too long after shaping. Next time knead the dough longer until it is very supple and smooth, and make sure you don't overproof the loaves, i.e. don't let them rise for longer than the recommended time.


Wendy Taylor says
425 seems high to bake bread??
Ana marie lim says
I find ur recipes best to compare with others i called my starter "mario"(mutant ninjas) thanks for sharing nice recipes i love to bake a lot
Vaishali says
So happy to hear!
Nicole says
Hi,
Can I cut the recipe in half? Does it still work for the rise?
Vaishali says
Yes, that's fine!
Tina McKinney says
I’d like to thank you for this recipe. I’ve made it three times successfully with my first ever sourdough starter. I was really intimidated with most of the other recipes I read with all the proofing and taking days. This recipe is just perfect. Thanks again!
P.S. I named my sourdough starter “Andrew” after reading your blog. I’m in Texas, but I just love Governor Andrew Cuomo from New York.
Vaishali says
What a great name! 🙂 I think he's pretty amazing too! And so happy the recipe worked out for you.
Cristina says
Thank you so much for this recipe! I’ve done it three times so far and modified it a bit after the first go. I used coconut milk instead of water, and coconut oil this last time using 1/4 cup of oil. I also used the coconut oil as an “egg wash” which gave it a nicer color like the one pictured in the original recipe. My family likes this better than the traditional rustic loaf, and I do too! The crust is like a croissant, and the inside a creamy soft loaf. And the coconut milk add reminds me of Jamaican coco bread. Thanks for this recipe!
Becky says
If I only have one bread pan, what other pan can I use?
Vaishali says
Halve the recipe.
Becky says
Also, I'm on my second rise, my dough is not doubling. It's been rising for 3 and a half hours. Is there something I should do? Should I still divide the dough or keep it as one?
Thank you for any help you can offer
Vaishali says
Give it some more time. Also sourdough bread usually rises quite high in the oven --it's something called "oven spring" that's unique to sourdough breads. So your bread will end up bigger than it is when it goes in.
Liz says
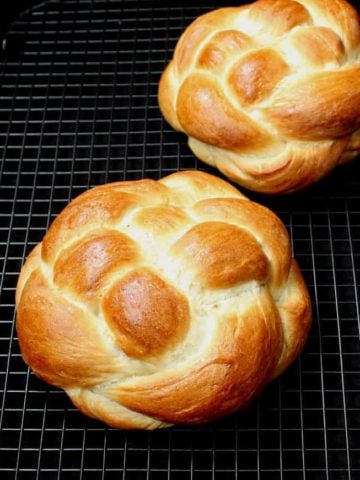
Or shape one half into a nice artisan loaf on a cookie sheet!
Jeremy Scott says
This was the 5th sourdough recipe I tried and the first time I did a non boule shaped loaf. This recipe really turned out great. Made two beautiful loafs that tasted great. I followed some peoples thoughts about putting melted butter on the loafs after they baked. This recipe will be added to the rotation. Nice crunch, nice flavor and really easy to make. My other recipes take about 36 hours to make, I made this one start to finish in about 9 hours.
Vaishali says
Awesome to hear!
Libby says
Hi Vaishali, thanks for all your great advice on sourdough. I’m a newbie, and I’m not having luck with my bread. I think my starter may be weak, the dough just isn’t rising much, I’m at day 14, and just popped my second loaf into the oven - last loaf was very dense (tasty, but hard) how do I strengthen my mother? It’s always got very gentle bubbles and even after a week or so on the bench it’s not very fragrant.
Any advice much appreciated.
Best Libby
Liz says
Feed it smaller amounts more frequently and mind the temperature you're keeping it at. If it's near a cool window you may need to find a slightly warmer spot.
Vaishali says
Good advice, Liz. Libby, hope your starter is doing better now.
Lorraine Weir says
I used up most of the starter that a friend kindly gave to me to make half of this recipe. There is a small amount of starter left. I am hoping to feed the starter tonight and hopefully “grow the volume”. Is this going g to work? Or am I going to have to ask for more starter?
Vaishali says
Yes you just need a small amount of starter to start growing your own!
Caroline Clarke says
Thank you so much for this brilliant recipe. I now make this bread more regularly than sourdough as my husband prefers the sandwich loaf texture and it's so easy to slice. My first attempt turned out looking exactly like yours, even though I halved the recipe. My starter poolish takes much more flour than stated to become the right consistency to knead before the first 2 hour rising, but I just keep adding flour by the tablespoon until it stops sticking so much to the worktop. You definitely can feel when the dough is right. I also recommend what someone else said and put a roasting pan half filled with boiling water in the bottom of the oven to create a steamy atmosphere.
I've sent the link to this recipe to so many friends, thank you again.
Vaishali says
So happy to hear!
Donna Rae says
Hi there. I saw your response re: all-purpose/whole wheat flour. Just wanting to confirm, can I sub in all-purpose instead of whole wheat at 1-to-1, or would the measurement need to be adjusted?
Also, I only have one 8.5x4.5 pan and one 9x5 pan. I'm wondering if, instead of splitting the dough, I could bake 1 loaf in the 9x5 pan - and if I did, what kind of temperature/time adjustments might I need to make?
Thanks kindly! 🙂
Vaishali says
Yes and measurement would be the same. Fine to bake in different size pans, mine are too, and same time.
Gail Cyert says
New to sour dough, loving my "Florence" named now after my firecrack grrat aunt who was an awesome baker! My question is , for the sandwich bread do I feed my starter in the morning and use it after it doubles, or it is right out of the fridge? Still a little confused on the discard, non fed and fed. Thank you
Vaishali says
Love the name and the story behind it ?. And yes feed your starter at least 6-12 hours before making the dough.
Gil Ercanbnrack says
Hi, do I really need to use whole wheat flour. All I have is white all-purpose flour. What harm will it do if I just use all, all-purpose flour?
Vaishali says
Whole wheat helps strengthen the sourdough bacteria but if you don't have it proceed with all purpose.
Liz says
I’ve followed every step, and it has gone as planned, except Letting the bread rise in the bread pans with a towel on top. I feel like the towel kept the bread down, and they did not rise above the bread pan. I am going to bake them anyway, but they are not as tall as they should be. The next time I do this, would leaving the towel off during the last proof produce a taller bread that actually goes over the edge of the pan?
Vaishali says
You can try using a shower cap--that's what I do. It doesn't weigh the bread down. 🙂
How much it rises also depends on the strength of your starter and the size of your loaf pan. If your loaf pan was bigger than mine, it may spread more horizontally rather than rise vertically.
Tamara says
Standard loaf pans? 8.5x4.5 or 9x5?
Will make a huge difference in height of end result.
Vaishali says
8.5 by 4.5.
Cathy says
Could I do the first mix and refrigerate overnight, rather than the 4 hour rest on the first step? Then just take out the next day to warm up to room temp and proceed from there with the rest of the recipe? My kitchen temp fluctuates so much that I am always missing the optimum time for my starter to be ripe and pass the float test. If I could just mix and refrigerate over night for the first step, then proceed the next day, I could bake more often. This is my first time trying this recipe, I am currently half way through the 4 hour rest right now. If it comes out the way I am hoping it will, I want to make it as often as I can. I just can't seem to time my starter being optimally ready to bake when I am.
Scott Reynolds says
Hi - Just pulled my loaves out of the oven and they are so hard! Will the crust soften up for sandwiches? I am wondering what went wrong....any suggestions? Thank you.
Mario Denis says
when I bake bread for sandwiches I always brush the top with melted butter before baking and again as soon as it comes out of the oven....super soft crust
ECH says
One piece of advice someone gave me was to put a small tray of water in the oven when baking to keep up the humidity and give it a softer crust (for this and other sourdough/dutch oven recipes).
Nicole says
Excited to try this bread! I’m curious if you know how much more liquid to add to compensate for the difference in starter hydration? I believe you actually have more like a 133% hydration starter- a 100% hydration is 1:1 water:flour feeds by WEIGHT, which equals about 1 cup flour to 1/2 cup water when you do feeds by volume. I’m guessing I need to increase the liquid a bit to work with my 100% hydration starter?
Colin says
281g of 100% hydration + 94g of water is what the math works out to
Laura Haggarty says
This looks like a lovely recipe, but I would appreciate it if you would include measurements by weight not volume. Thanks.
Vaishali says
Hi Laura, click on "Metric" under the recipe ingredients in the recipe box and it should convert for you.
Pau says
I’m also trying to figure out a rhythm and this will be my first bake. Can I feed my starter Saturday morning, start the recipe Saturday night and let it rest on the counter with overnight instead of just 4 hours? Or is it better to store in the fridge overnight after the second rise like a comment above? Or just use discard and not wait till evening to start?
Thanks so much for your feedback. Excited to give this recipe a try!
Ruth says
I leave my first rise outside the fridge overnight to get a good rise. I also leave the second rise however long it takes to get to the desired height.
ECH says
I feed my starter the night before and start it mid morning.. REally read the timing through, because the first time I made it I ended up baking at 1am! 🙂
Amy says
Hello and thank you for the post! Can I use my rye mother yeast for this?
Martin says
Do you have a version of the recipe where the ingredients are measured by weight? I find a volumetric measurement of the starter in particular is tricky.
Can I substitute general purpose flour for the whole wheat?
Ashley says
Have you ever baked on in a lidded pan (pan de mie)? If so, any recommendations for a shift in baking time or temp?
Sara says
I'm curious about this as well.
Aaron says
My starter is very young and I don’t think it’s strong enough to use on its own yet. Would it be possible to add yeast to this recipe to supplement my starter?
Vaishali says
You could try adding a teaspoon and a half of active dry yeast.
Jessica says
So this recipe does not need to be scored is that right?
Vaishali says
No, but if you find that your bread tends to crack on the side to let out sourdough gases (especially if your starter is very strong), you might want to make a score on top next time to guide them.
Vaishali says
No need to score, but if you find that the bread cracks to let gases escape (depending on how mature and strong your starter is) you could make one score on top to guide the gases.
Jess says
Does it have to bake for the full 40 min?
Vaishali says
Yes.
Kim says
It depends on your oven and your bread pans. I cook mine to an internal temperature of 195-200. My bread reaches this temperature in 35 minutes.
Sourdough starter says
I messed up and combined all ingredients in step 1. Thoughts on whether I’ll be able to salvage it?
Vaishali says
Just proceed!
Rachel says
This used all of my starter. I followed the starter recipe linked on this page. Everything worked out great from start to finish, but I'm wondering if I did something wrong with the starter.
Catharine Harrell says
I had the same problem. I have to start over the with starter because this recipe used it all. Is there a way to have more starter on hand?
Emily says
I just fed my starter (it’s a whole wheat starter) two hours ago. The problem is that I used the rest of my whole wheat flour to feed my starter! Can I use more starter and skip step 1? I’m a sourdough newbie, so I have no idea. Thanks!
Vaishali says
Just use white or bread flour instead of whole wheat!
Monica says
Could I bake the entire recipe in a 16 x 4.5 x 3.5 pan?
Vaishali says
That sounds like a loaf pan that's twice the length of a regular so I suppose so. 🙂
Jennifer says
It's 4:00 P.M. I've an hour and a half left on step 5 (raising-covered tightly for two hours). Is there a point after this step I could put the dough in the fridge and take it out in the A.M. to make fresh baked bread for breakfast?
Vaishali says
I think it would be okay to put it in the refrigerator after the second rise and bake in the a.m.
Anonymous says
I'm going to try it! I'll let you know--nothing like fresh-baked bread for breakfast!! 🙂
Caryn says
I would love to know whether this worked well!